
Making of Northern Wisps
by Bartosz Domiczek
11
JUNE, 2018
3dsmax, ZBrush, Corona Renderer, FloorGenerator, Forest Pack, RailClone, MultiScatter, GrowFX, Substance Painter, Photoshop, ArionFX
Although it’s pretty close to the booming tourist routes, it remains relatively tranquil due to the more dominant river crossing on the way. That place gave me the possibility to create some plausible scenes which evoke serenity with chilling hints of the raw, untamed and besieging nature.
The project turned out to be pretty complex in the end, including many scenes in various lighting scenarios. It wasn’t however planned in this form and thus never felt really overwhelming.
In the beginning, I thought about only one scene with 2-4 points of views. The rules of the competition required preparing spherical images so I organized this environment so as it would be interesting all around. It’s a common pain with spherical panoramas that they include only 10-20% of the absorbing content, and the rest is merely a filler. I tried to avoid it, at least in first renderings.
Let’s start then!
Modeling and Texturing
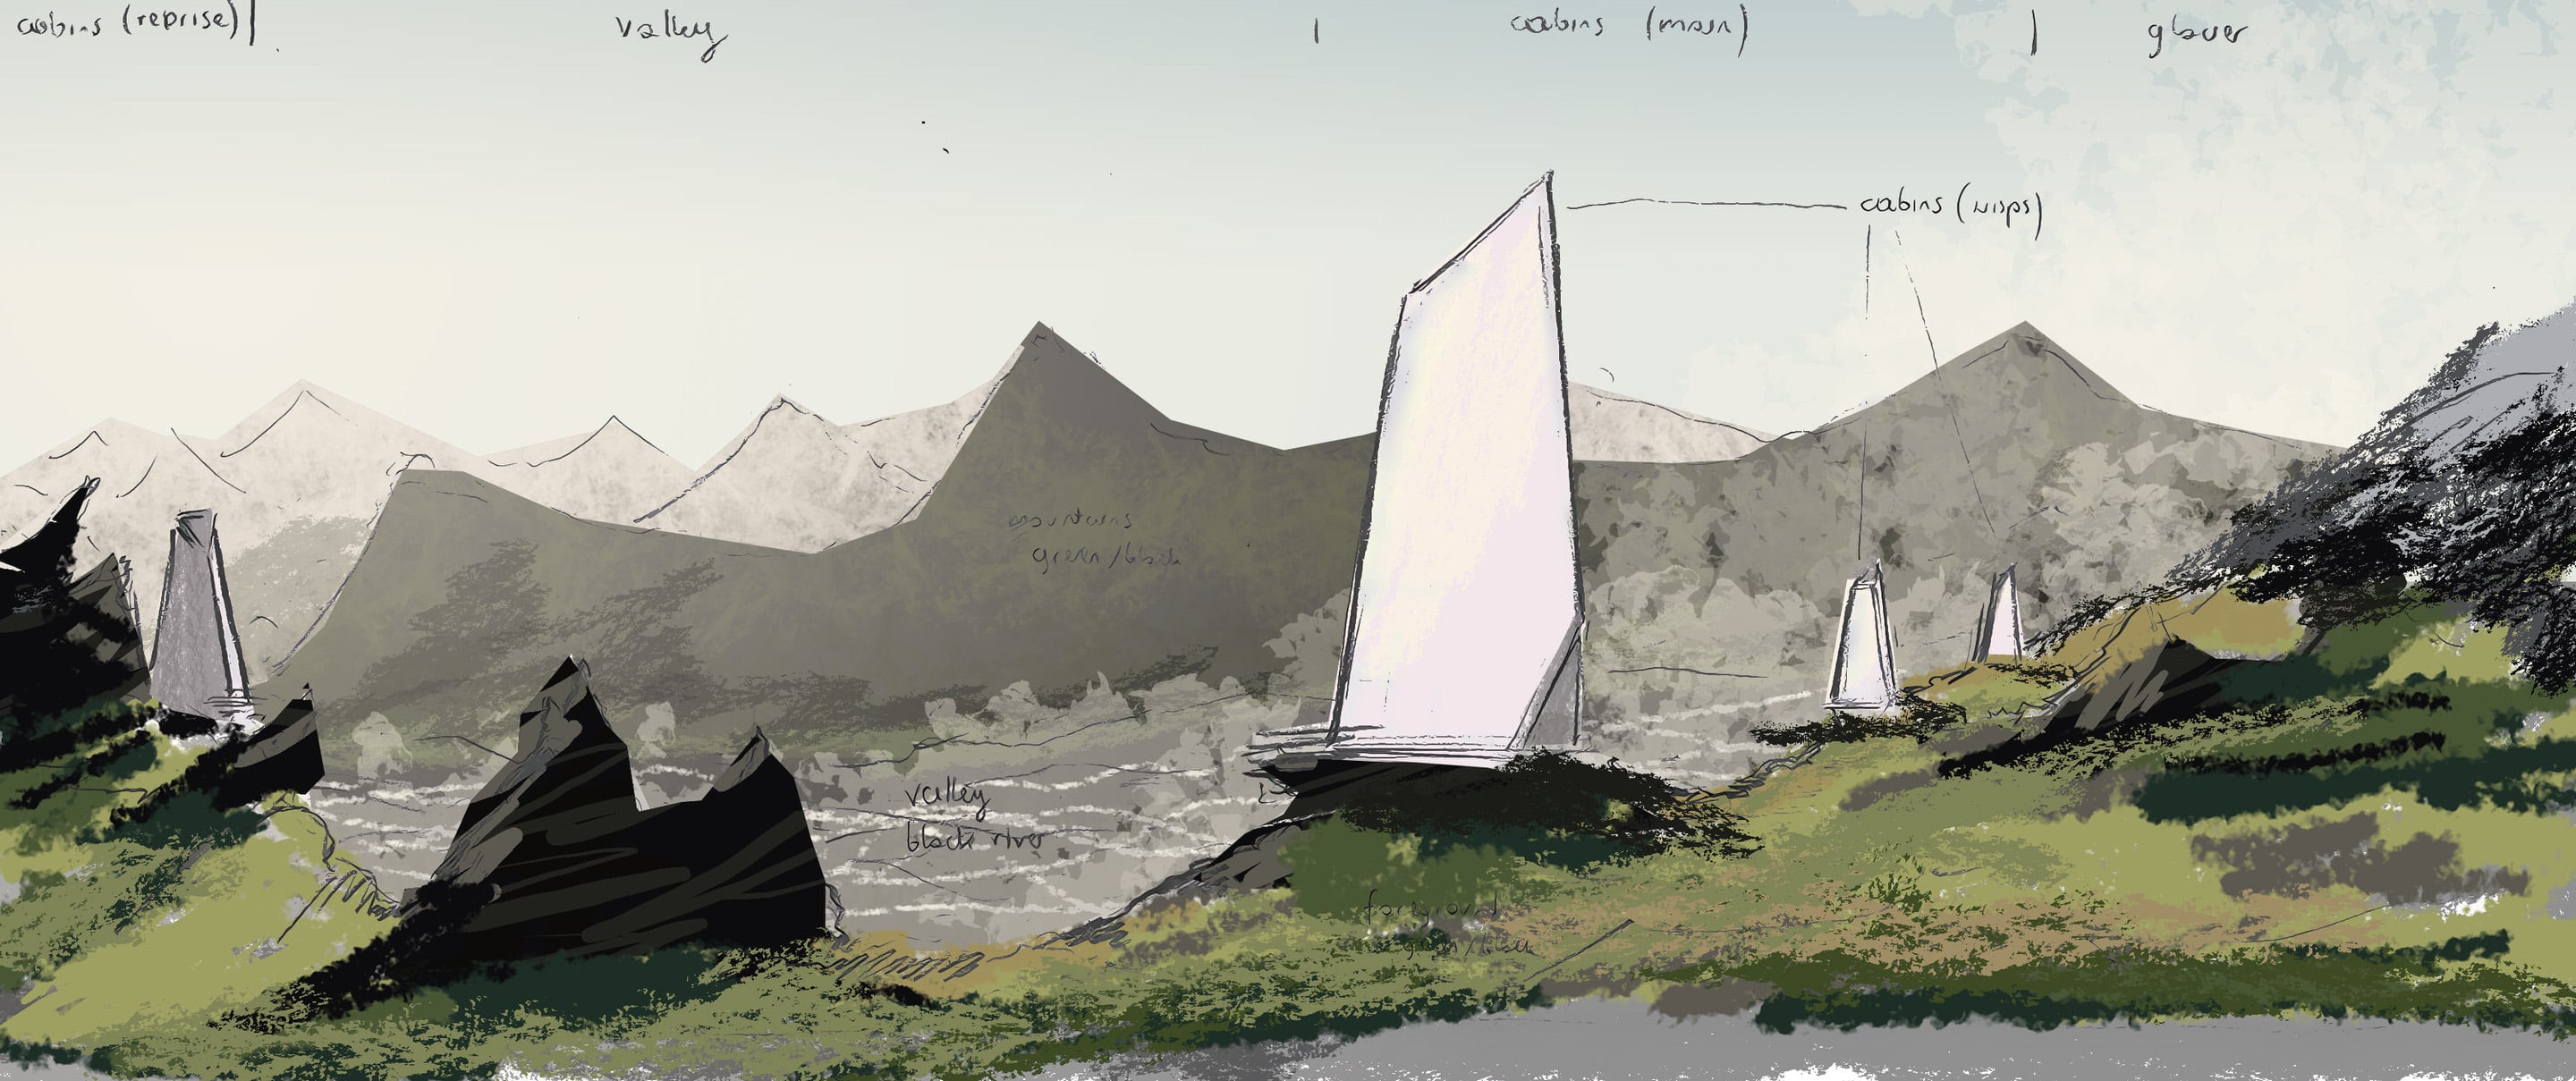
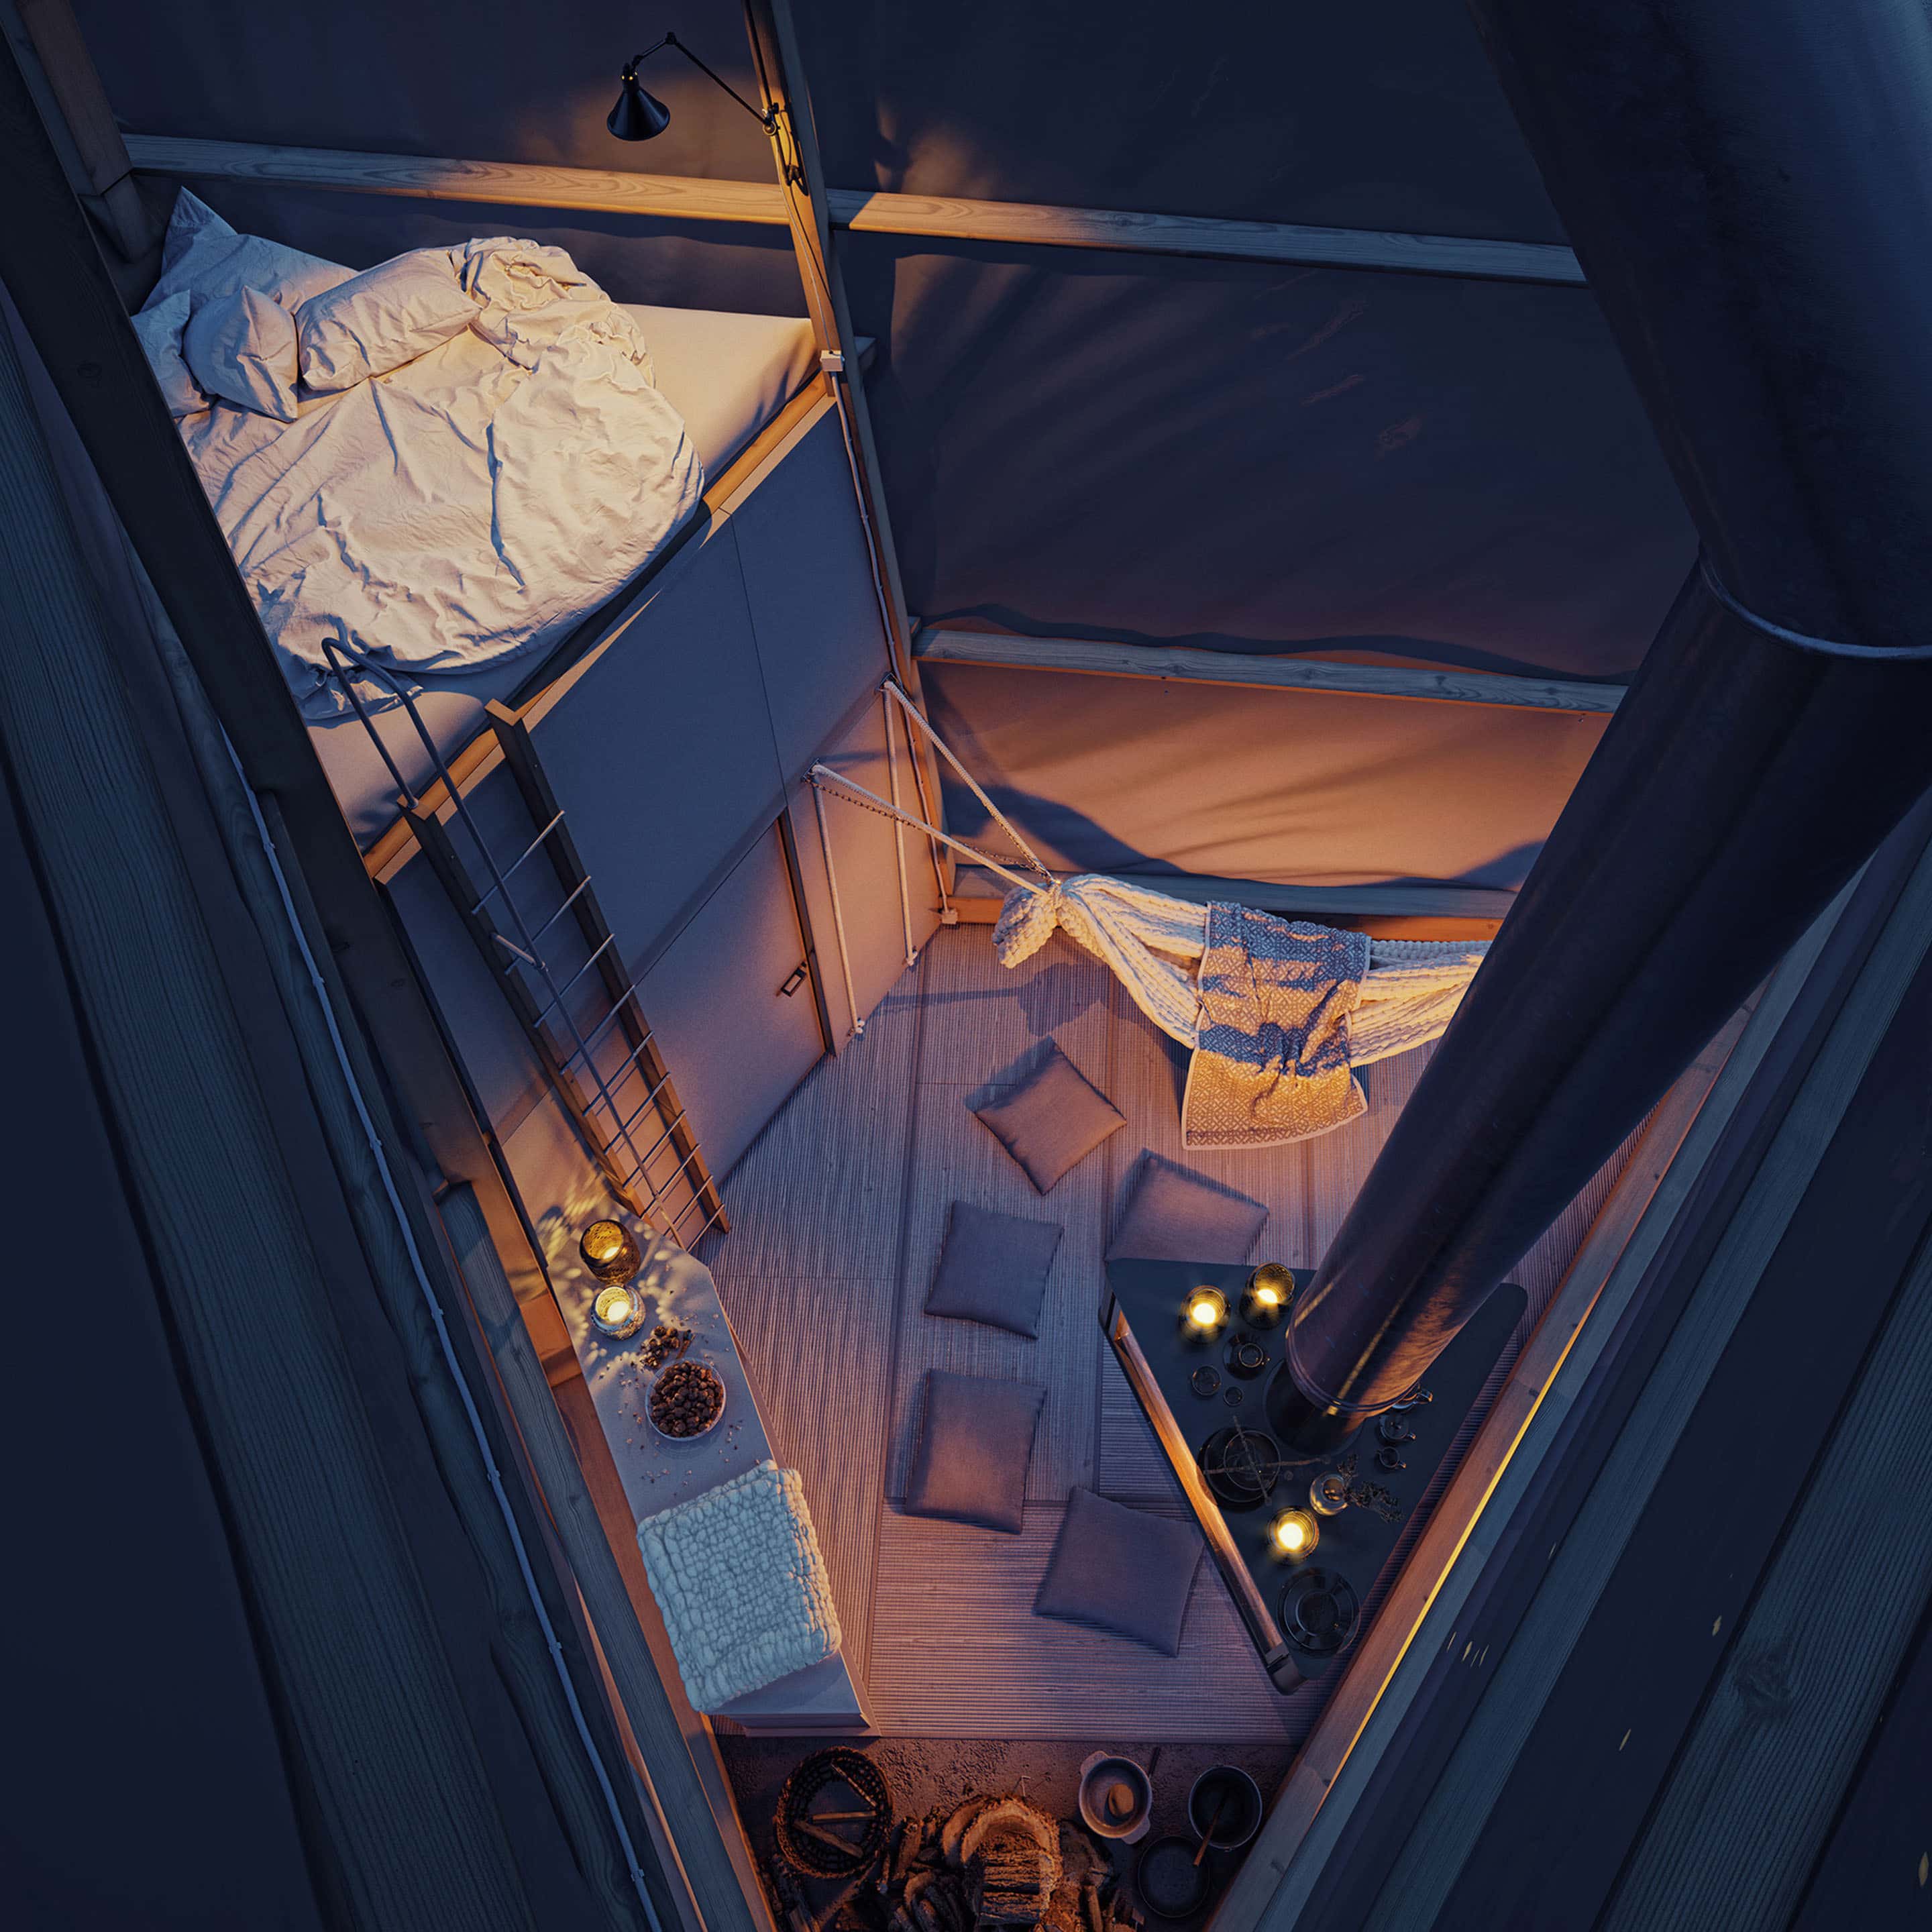
The first one is the archetype of an ancient shelter with a central fireplace. The second one is about the simplest geometry that contrasts the complexity.
The example here can be the black monolith from 2001: A Space Odyssey, rectangular light sources in some photography works of Benoit Paillé, and the series of metallic objects by Dillon Marsh.
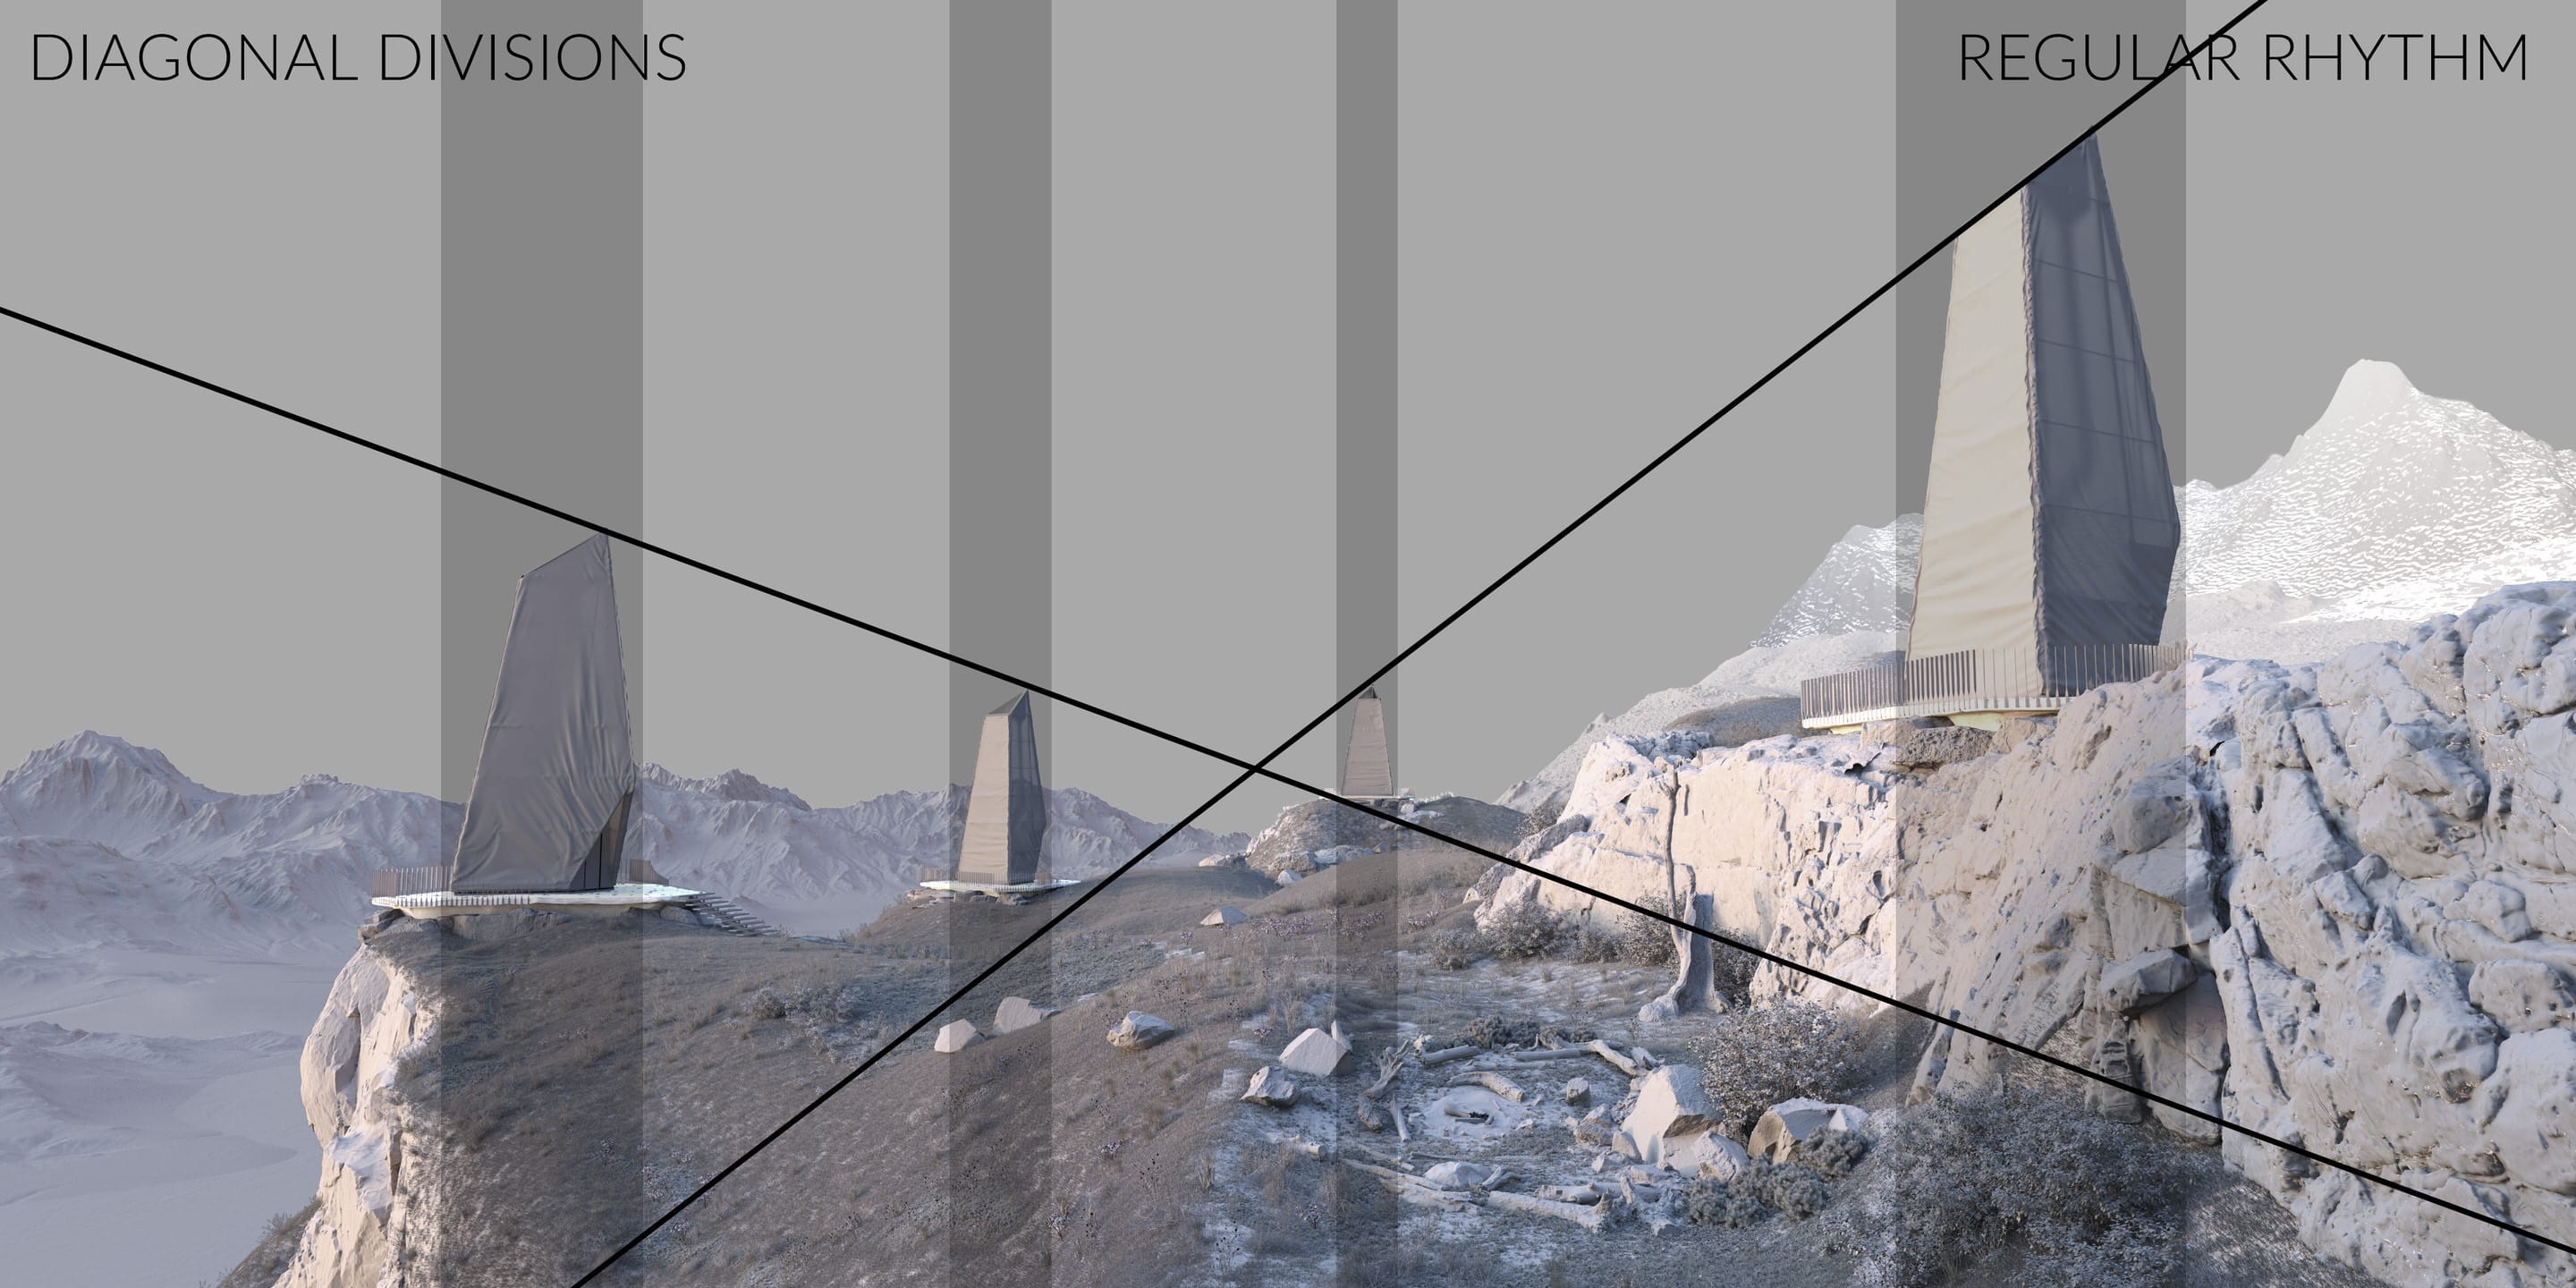
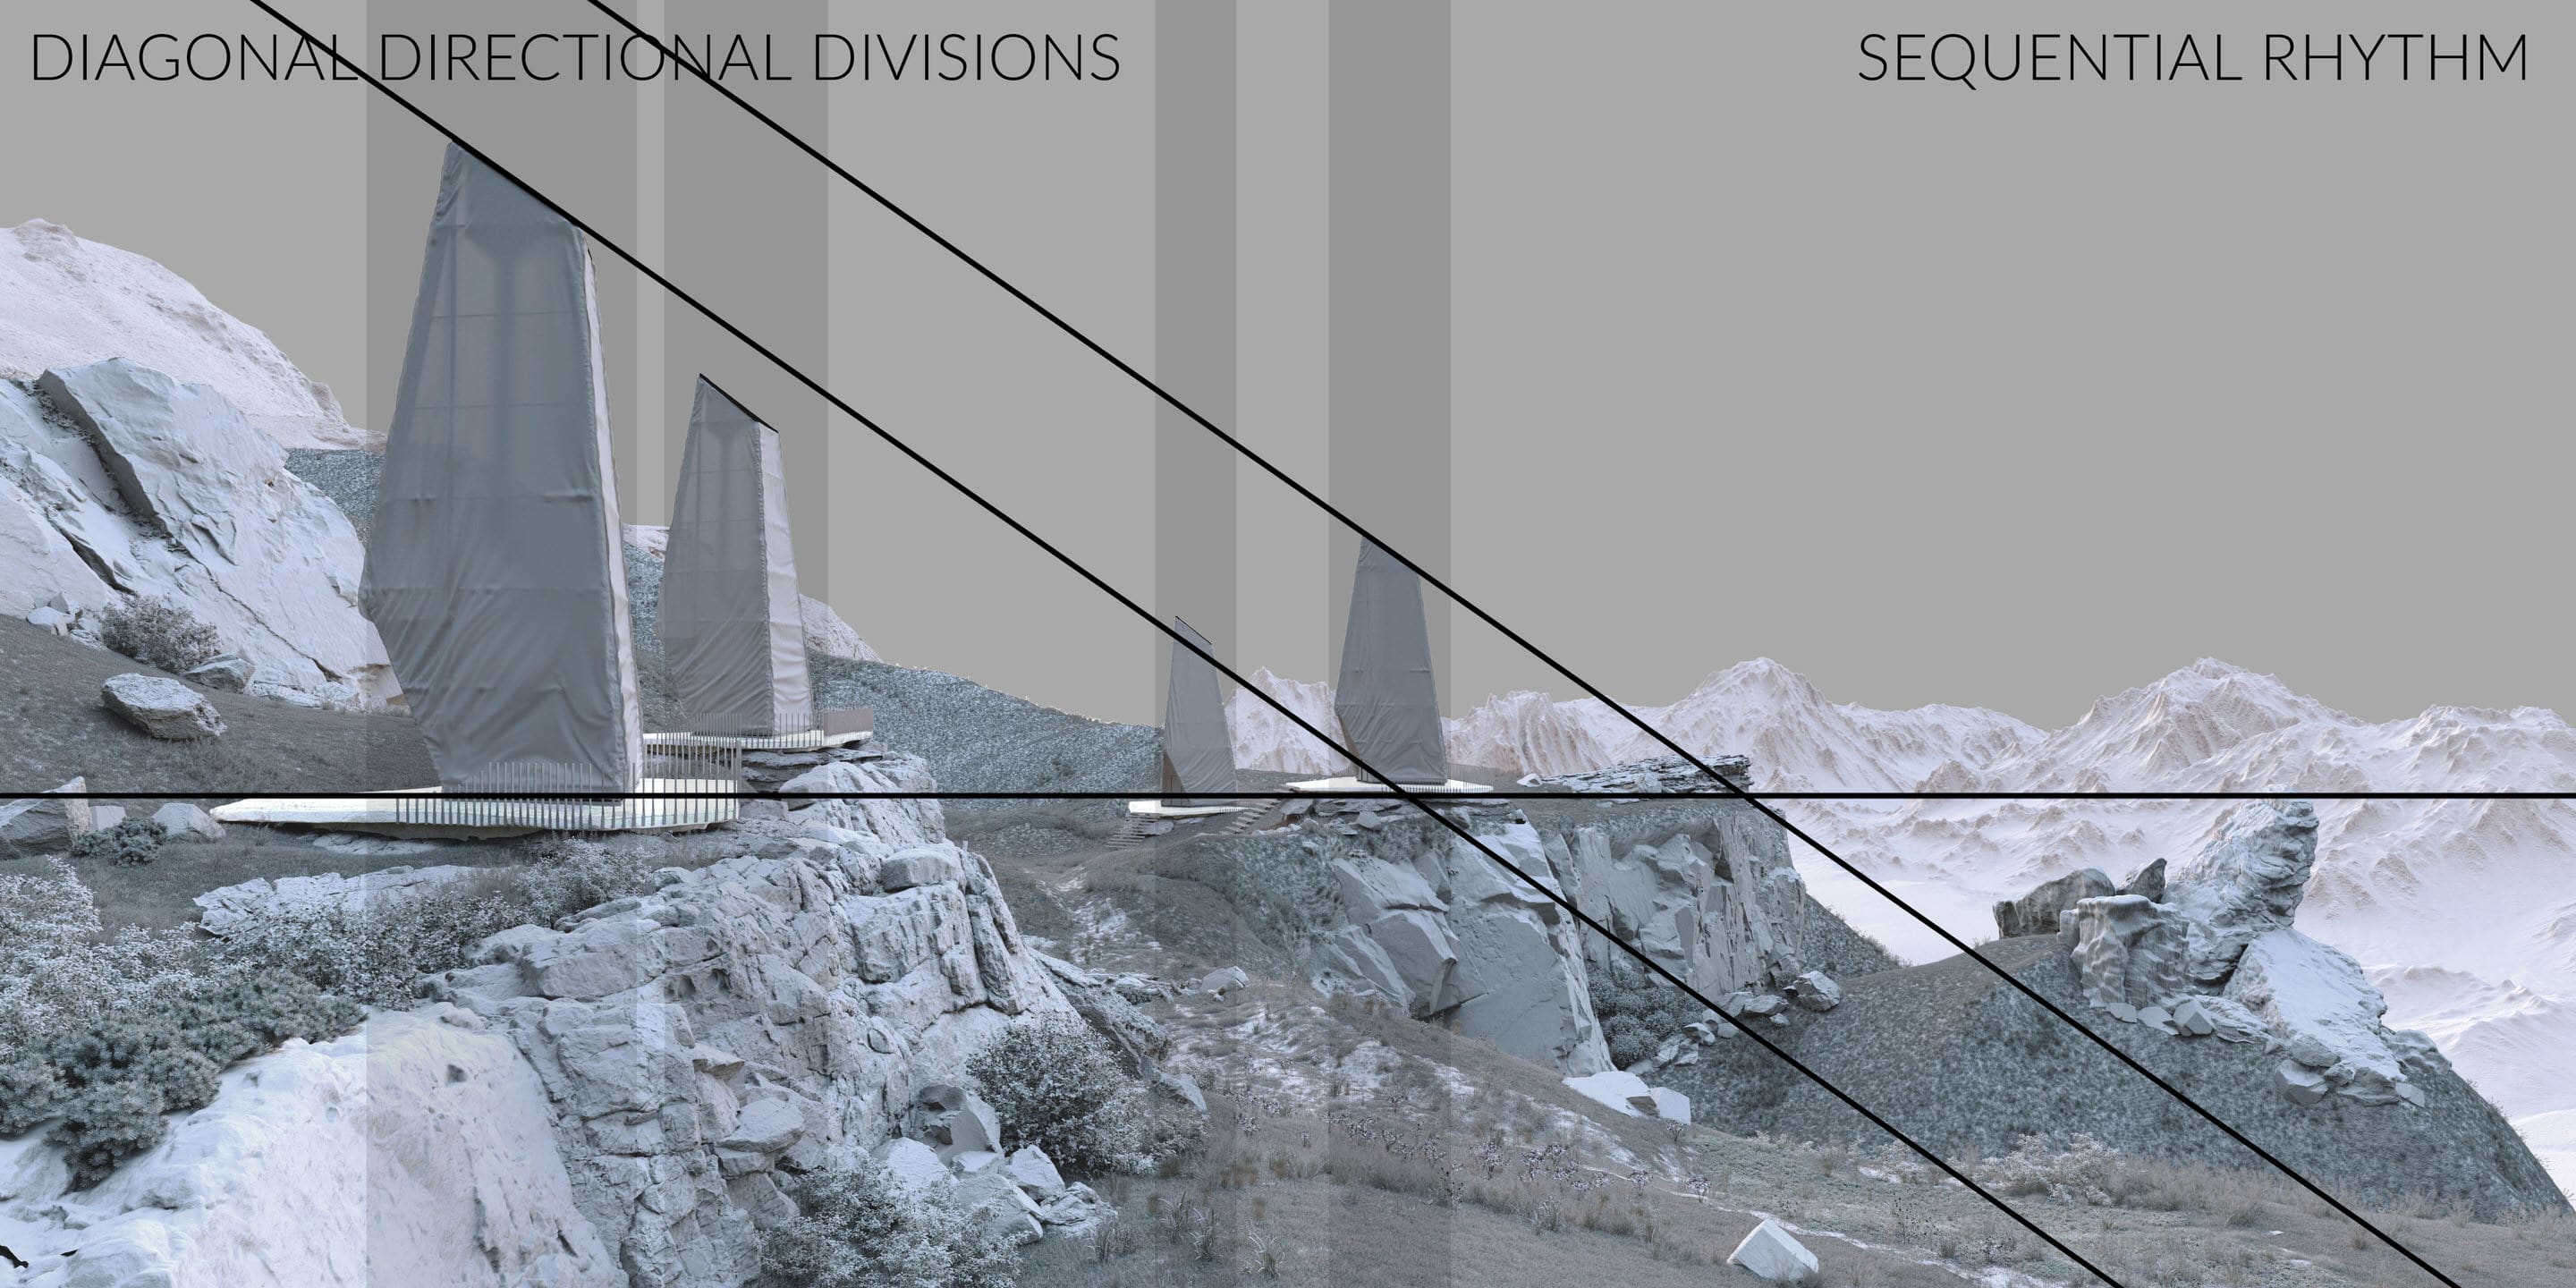
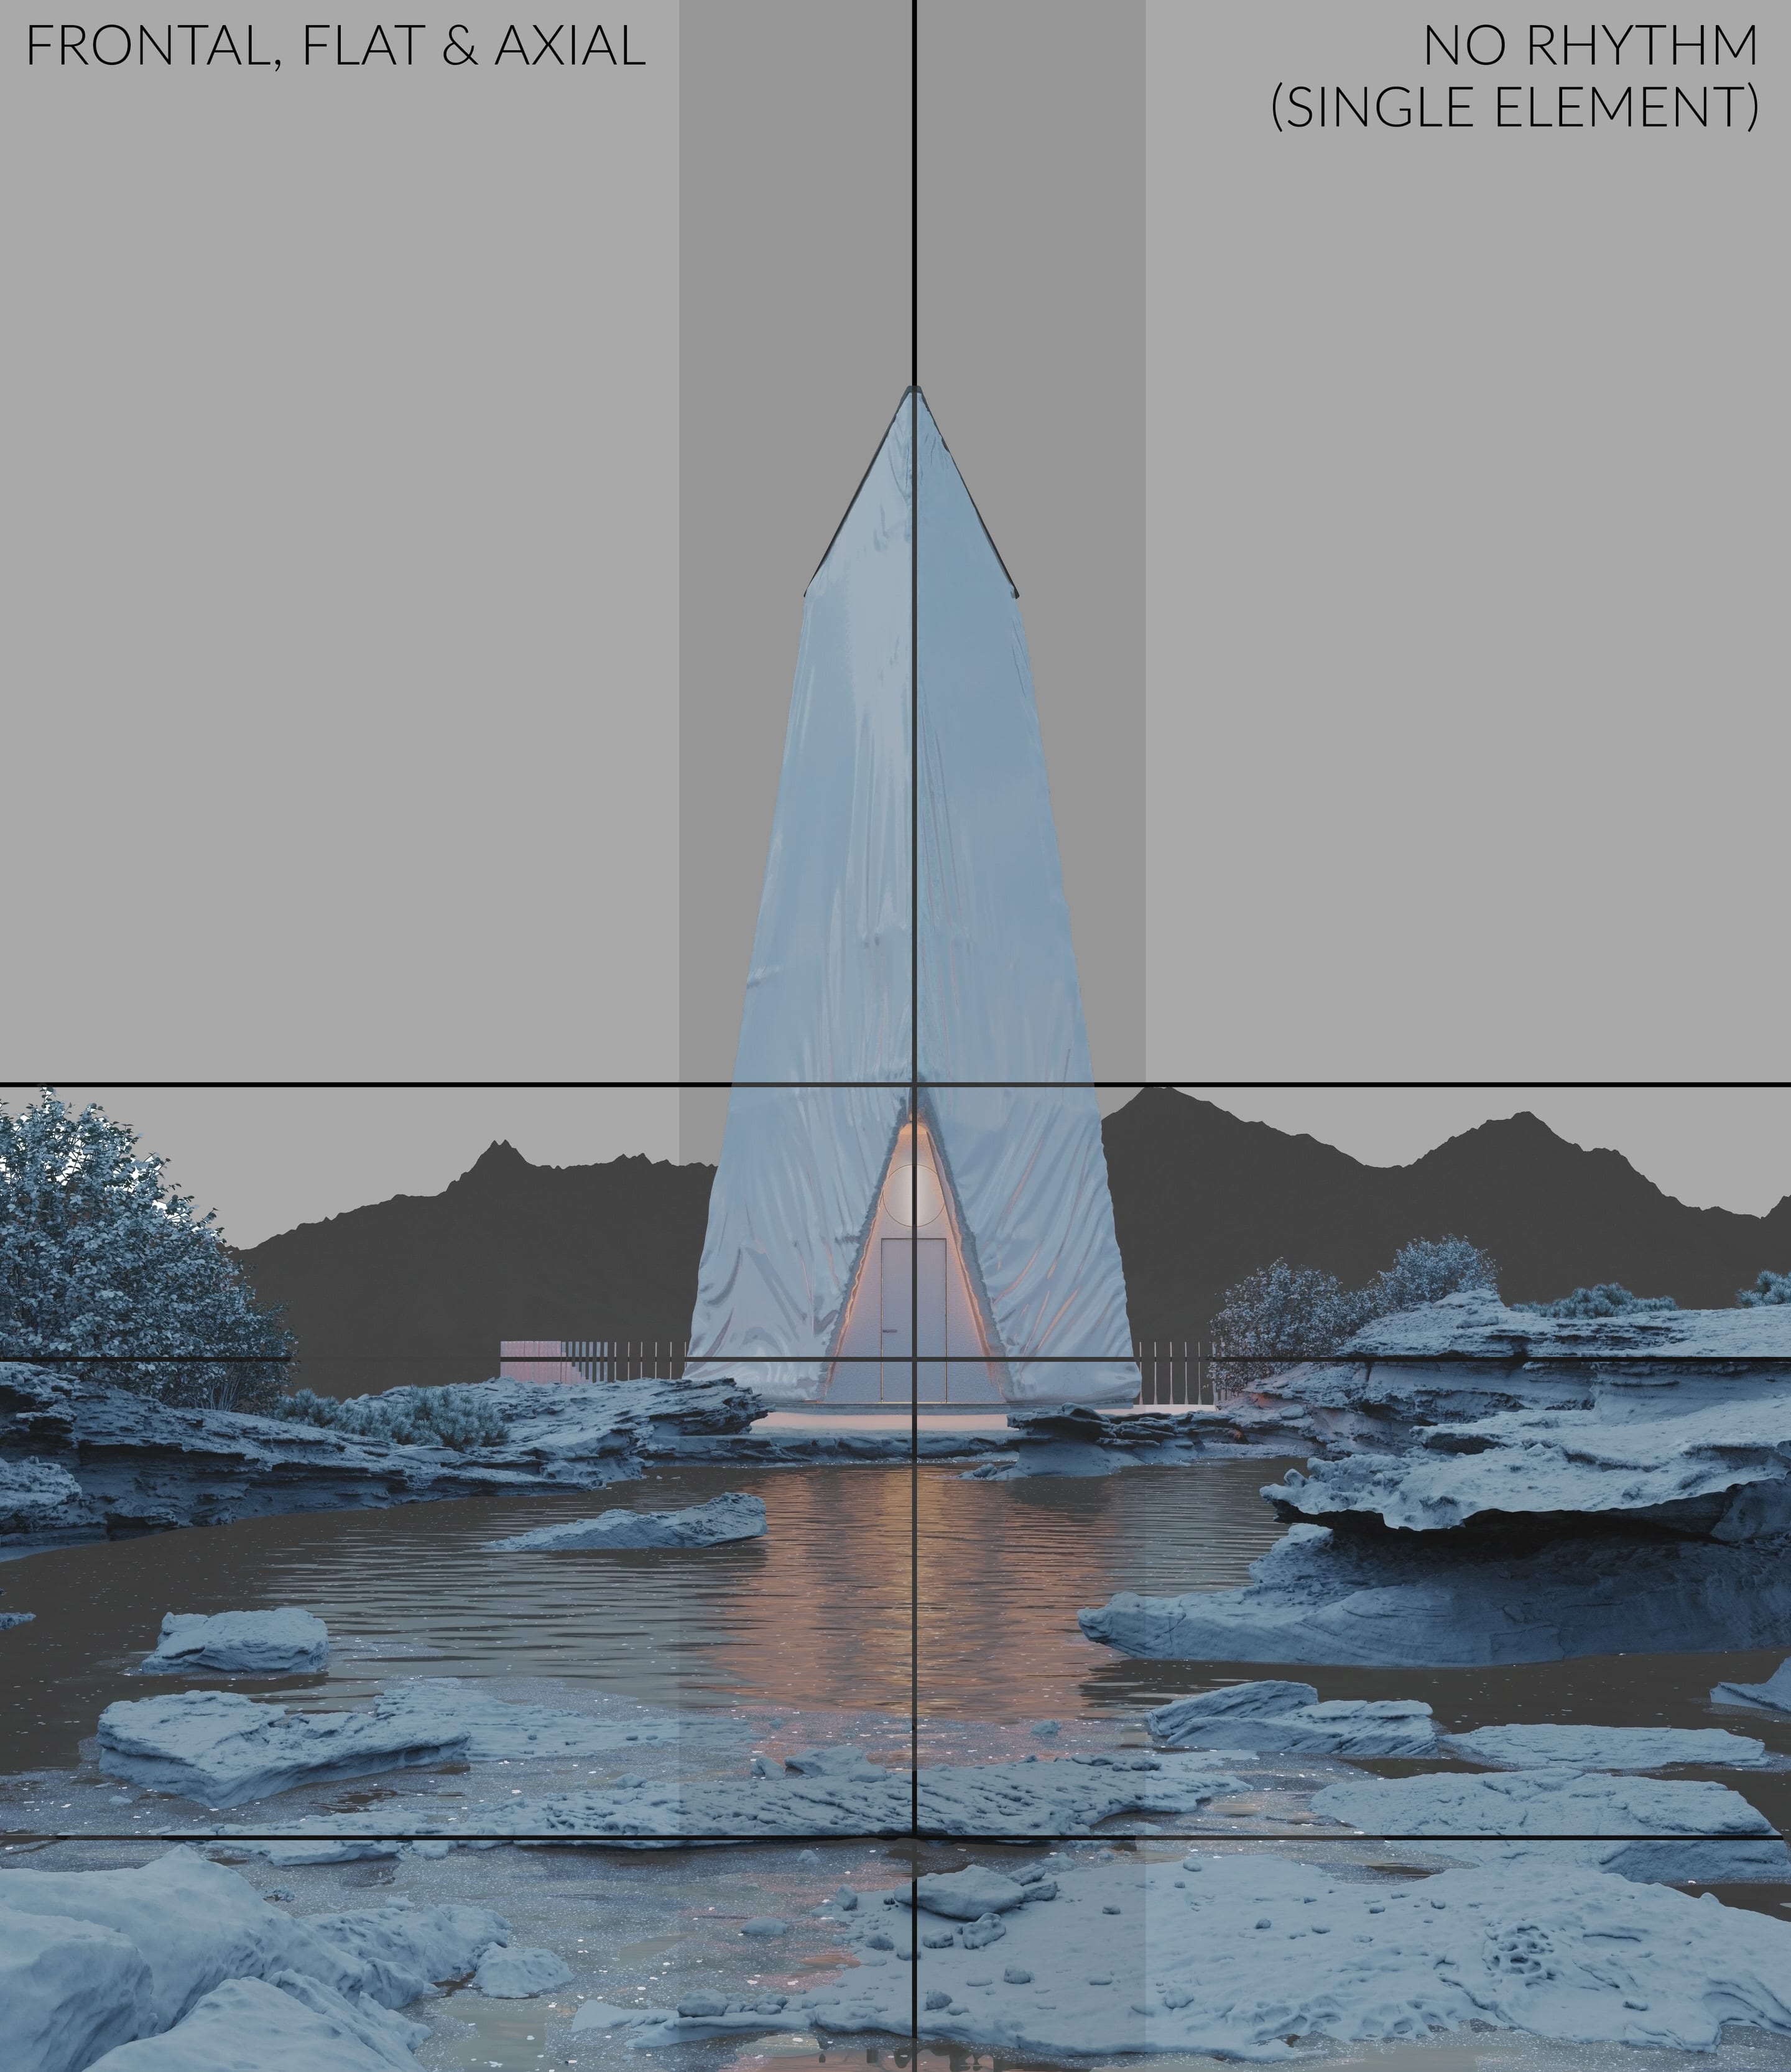
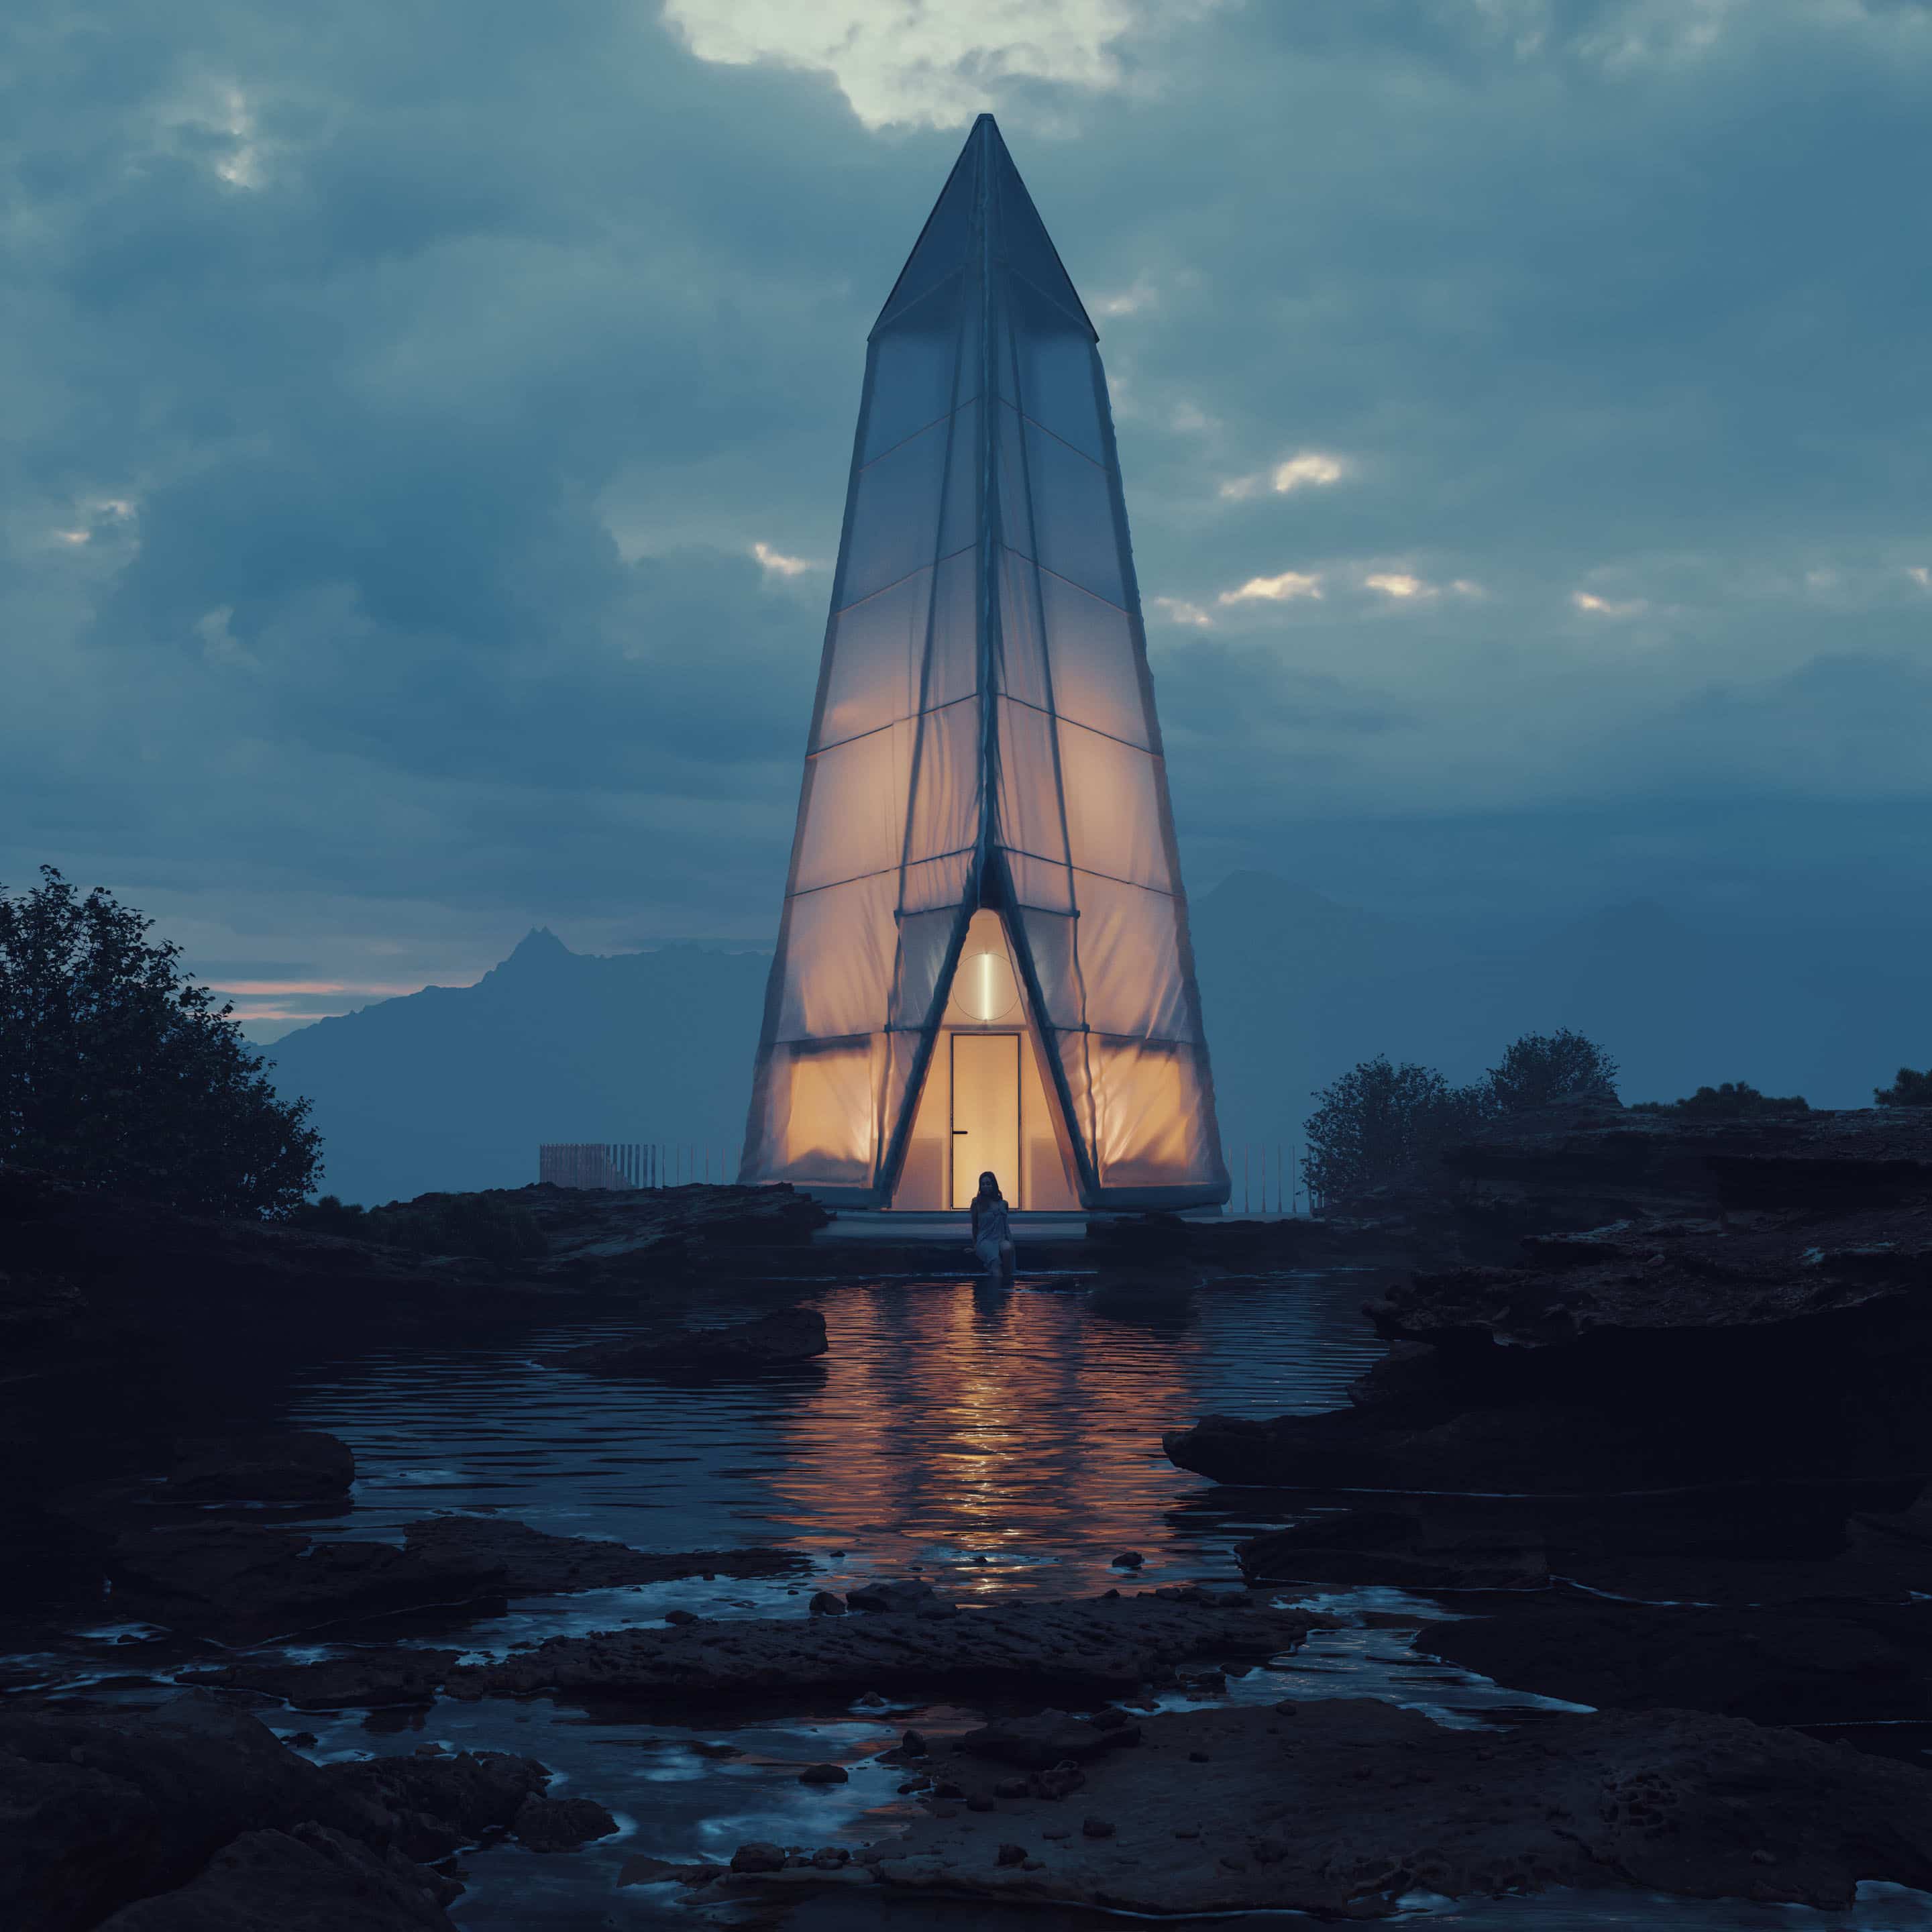
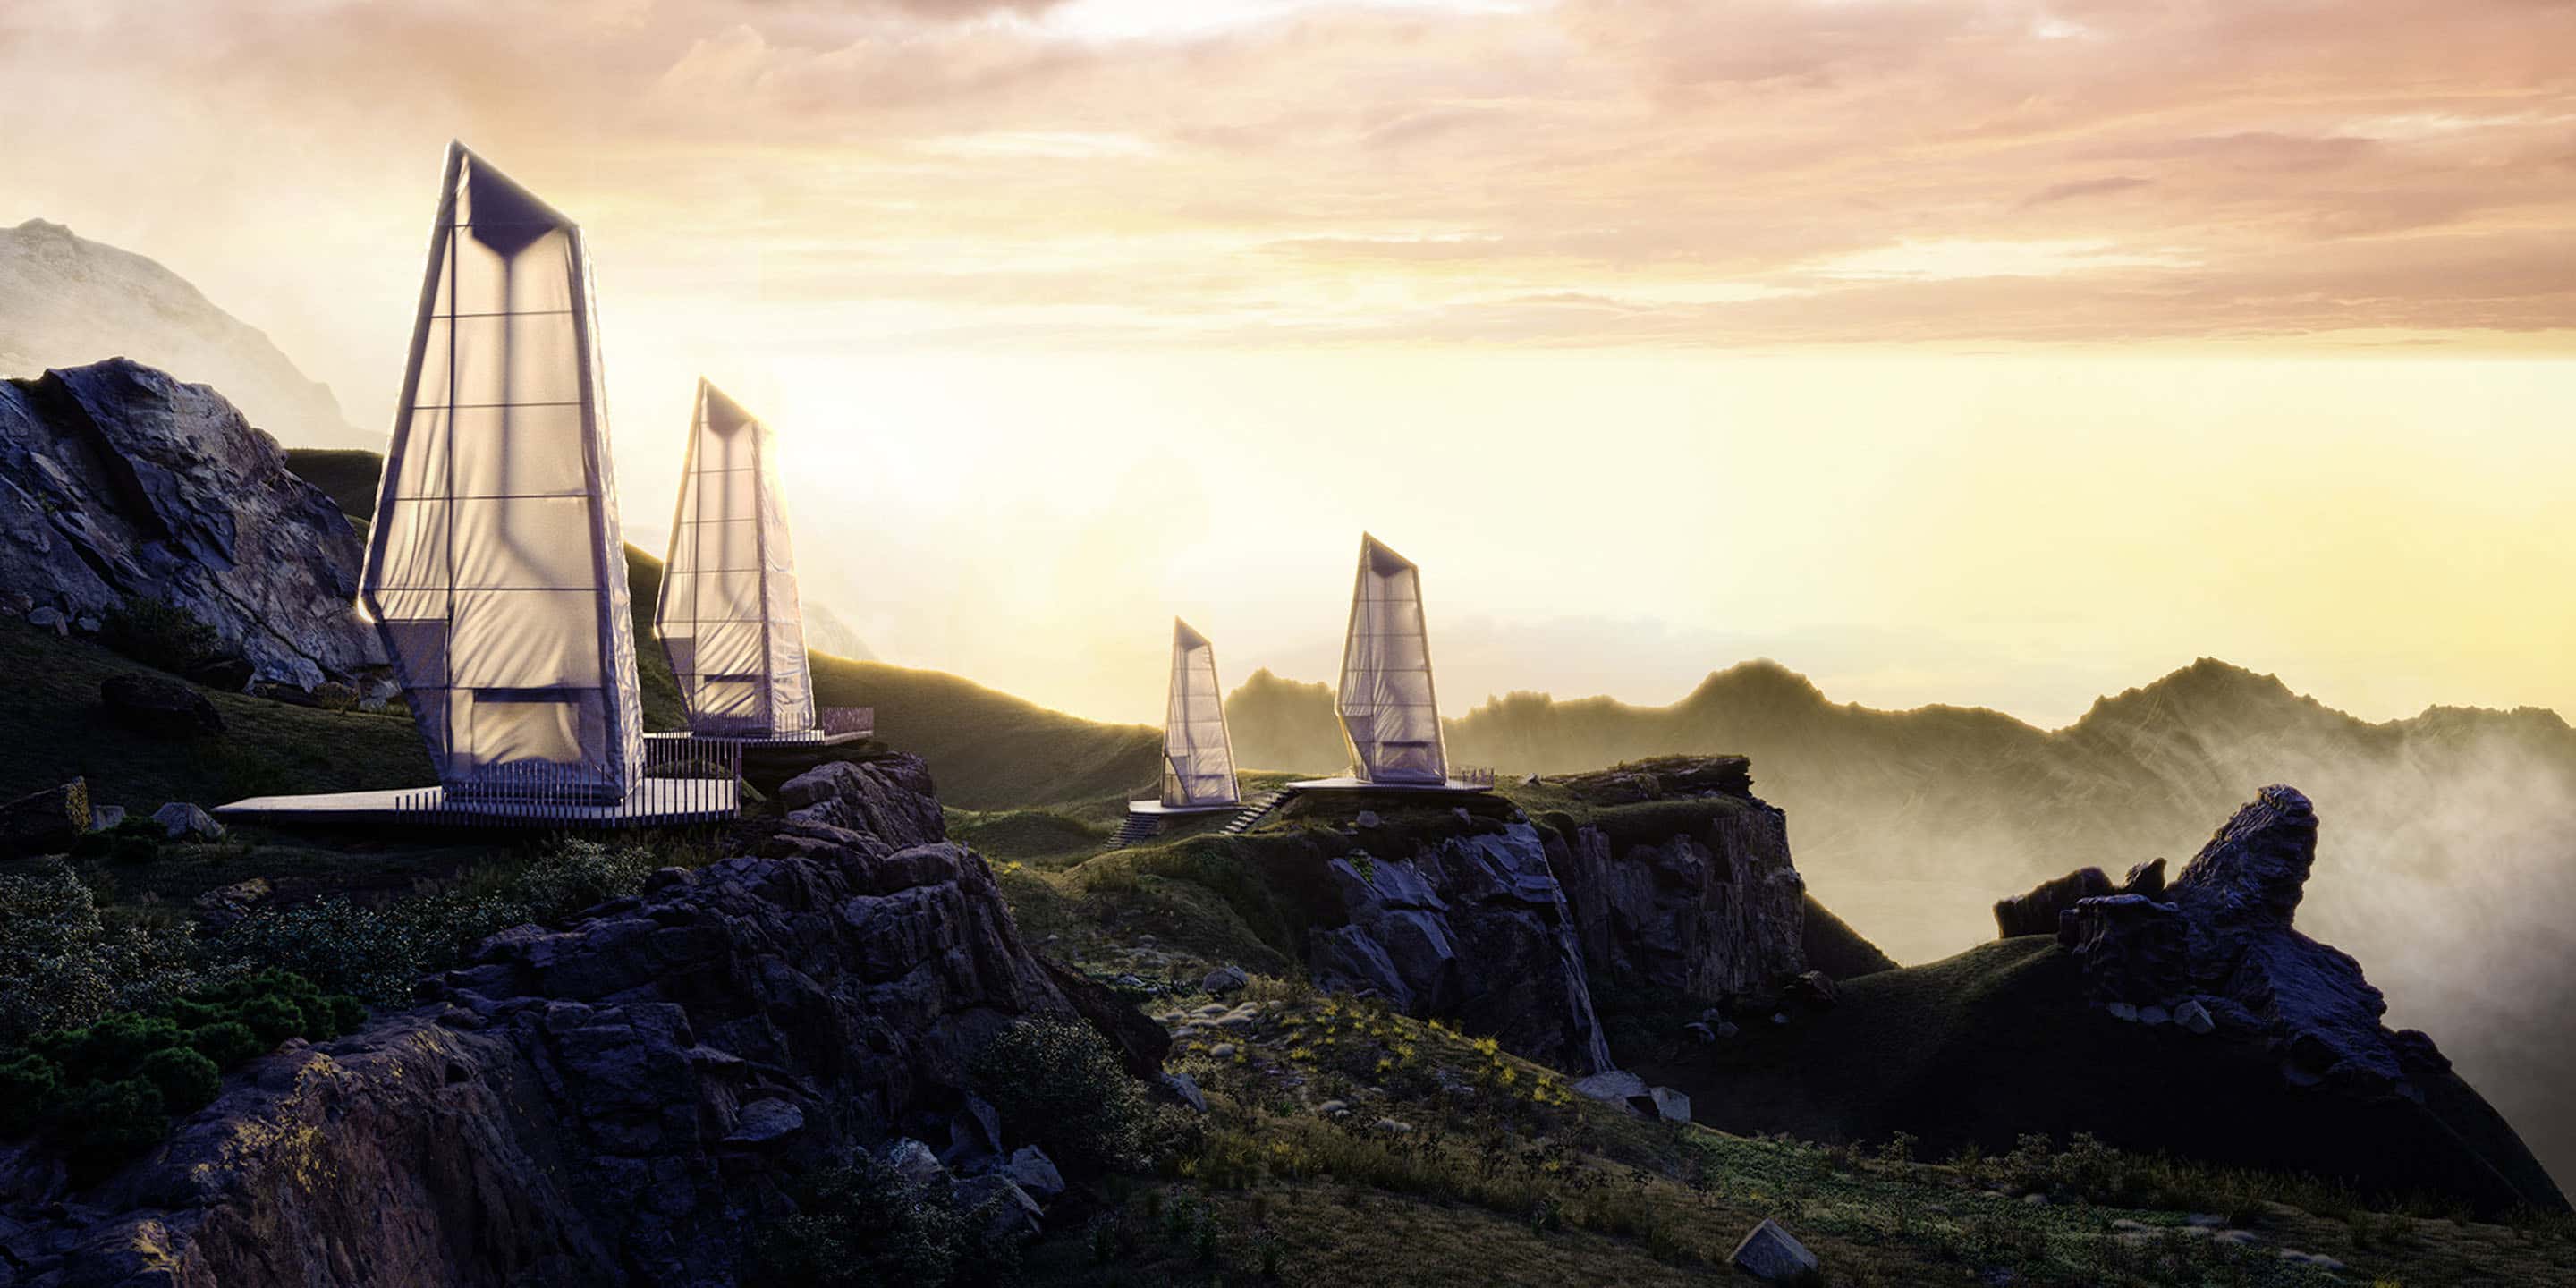
The simple form becomes the great mystery in those juxtapositions. It gains the quality of an emerging deity or some intangible truth being unveiled in front of the incompetent mind. That’s why I imagined the cabins to be seen as a row of Nordic gods stalled at the mountain ridge. It’s genius loci of this project.
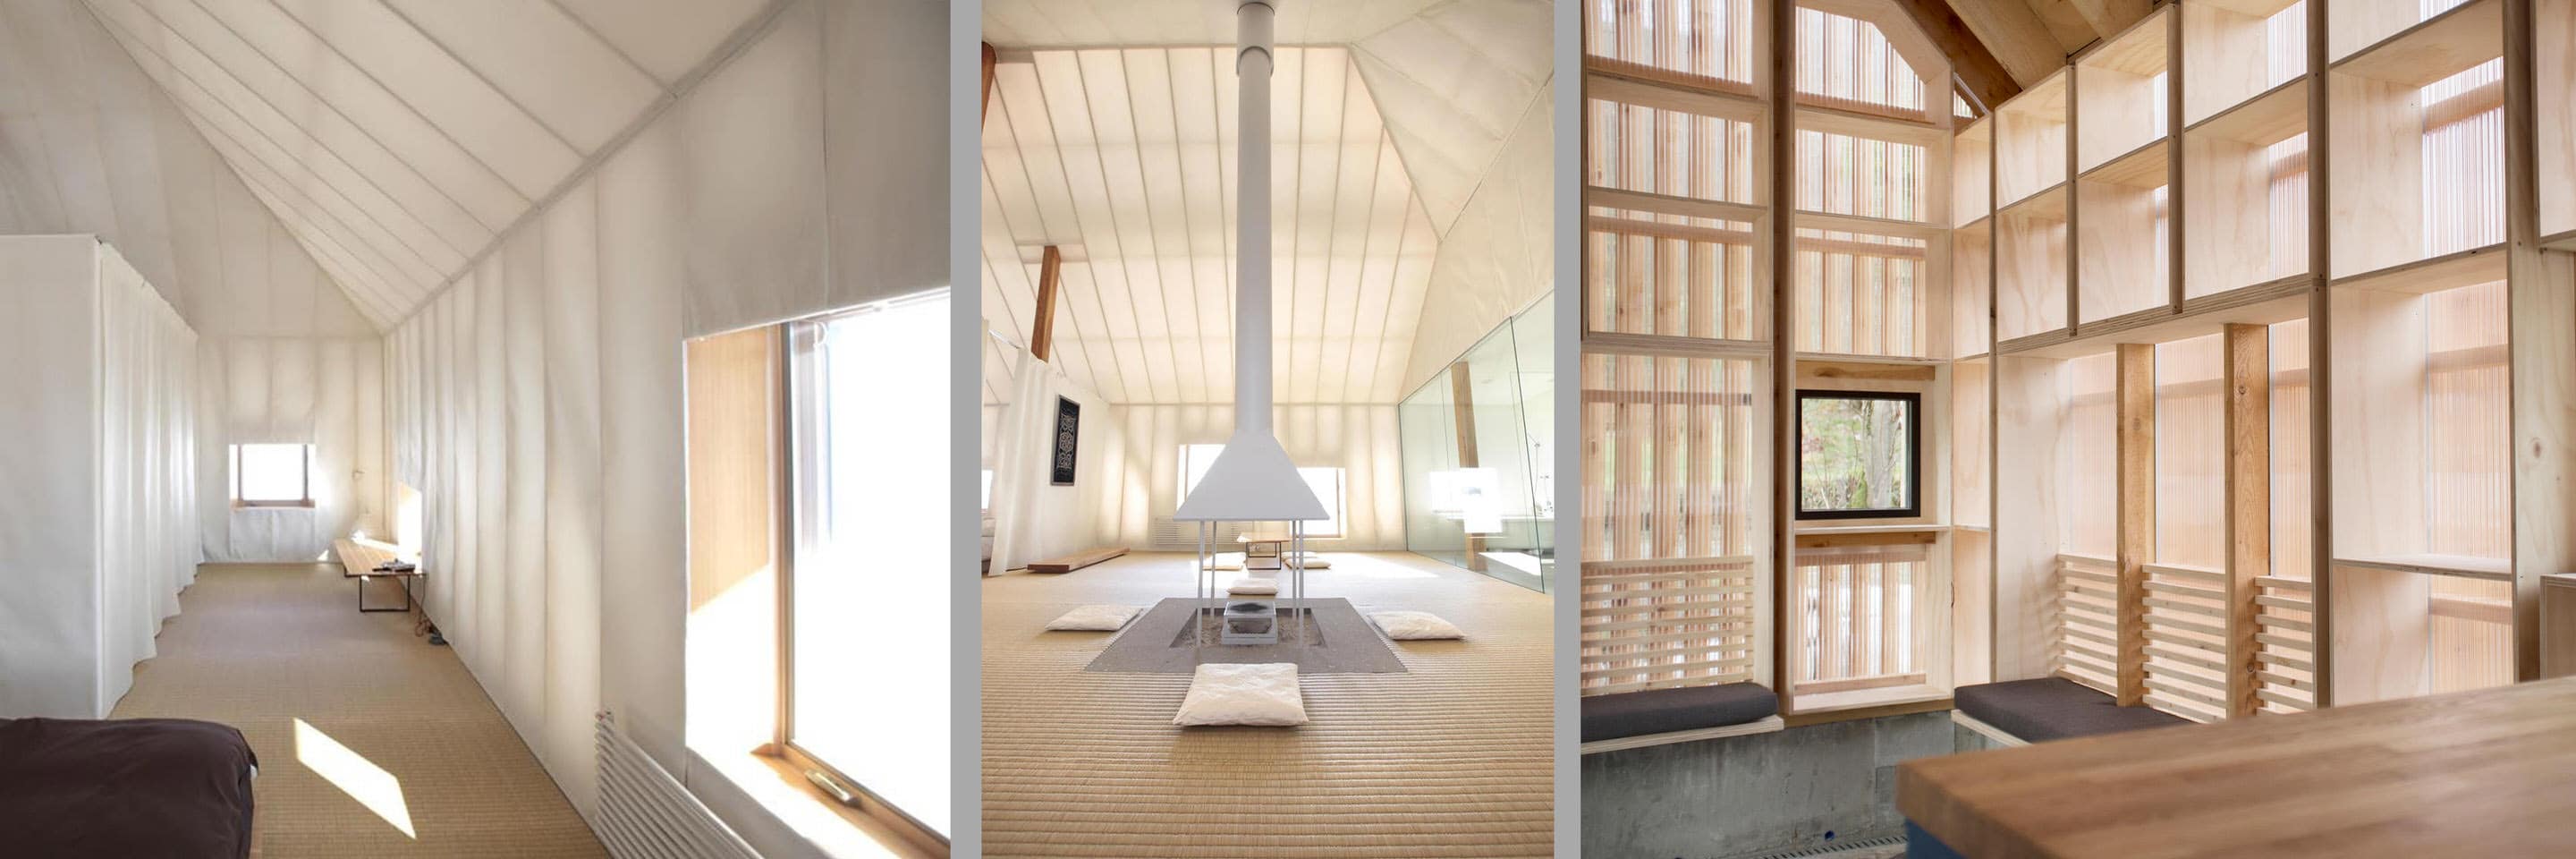
The purity of the form that I aspired to was based on the references of the Japanese objects which are made of wood and semi-translucent covers of fabric or polycarbonate.
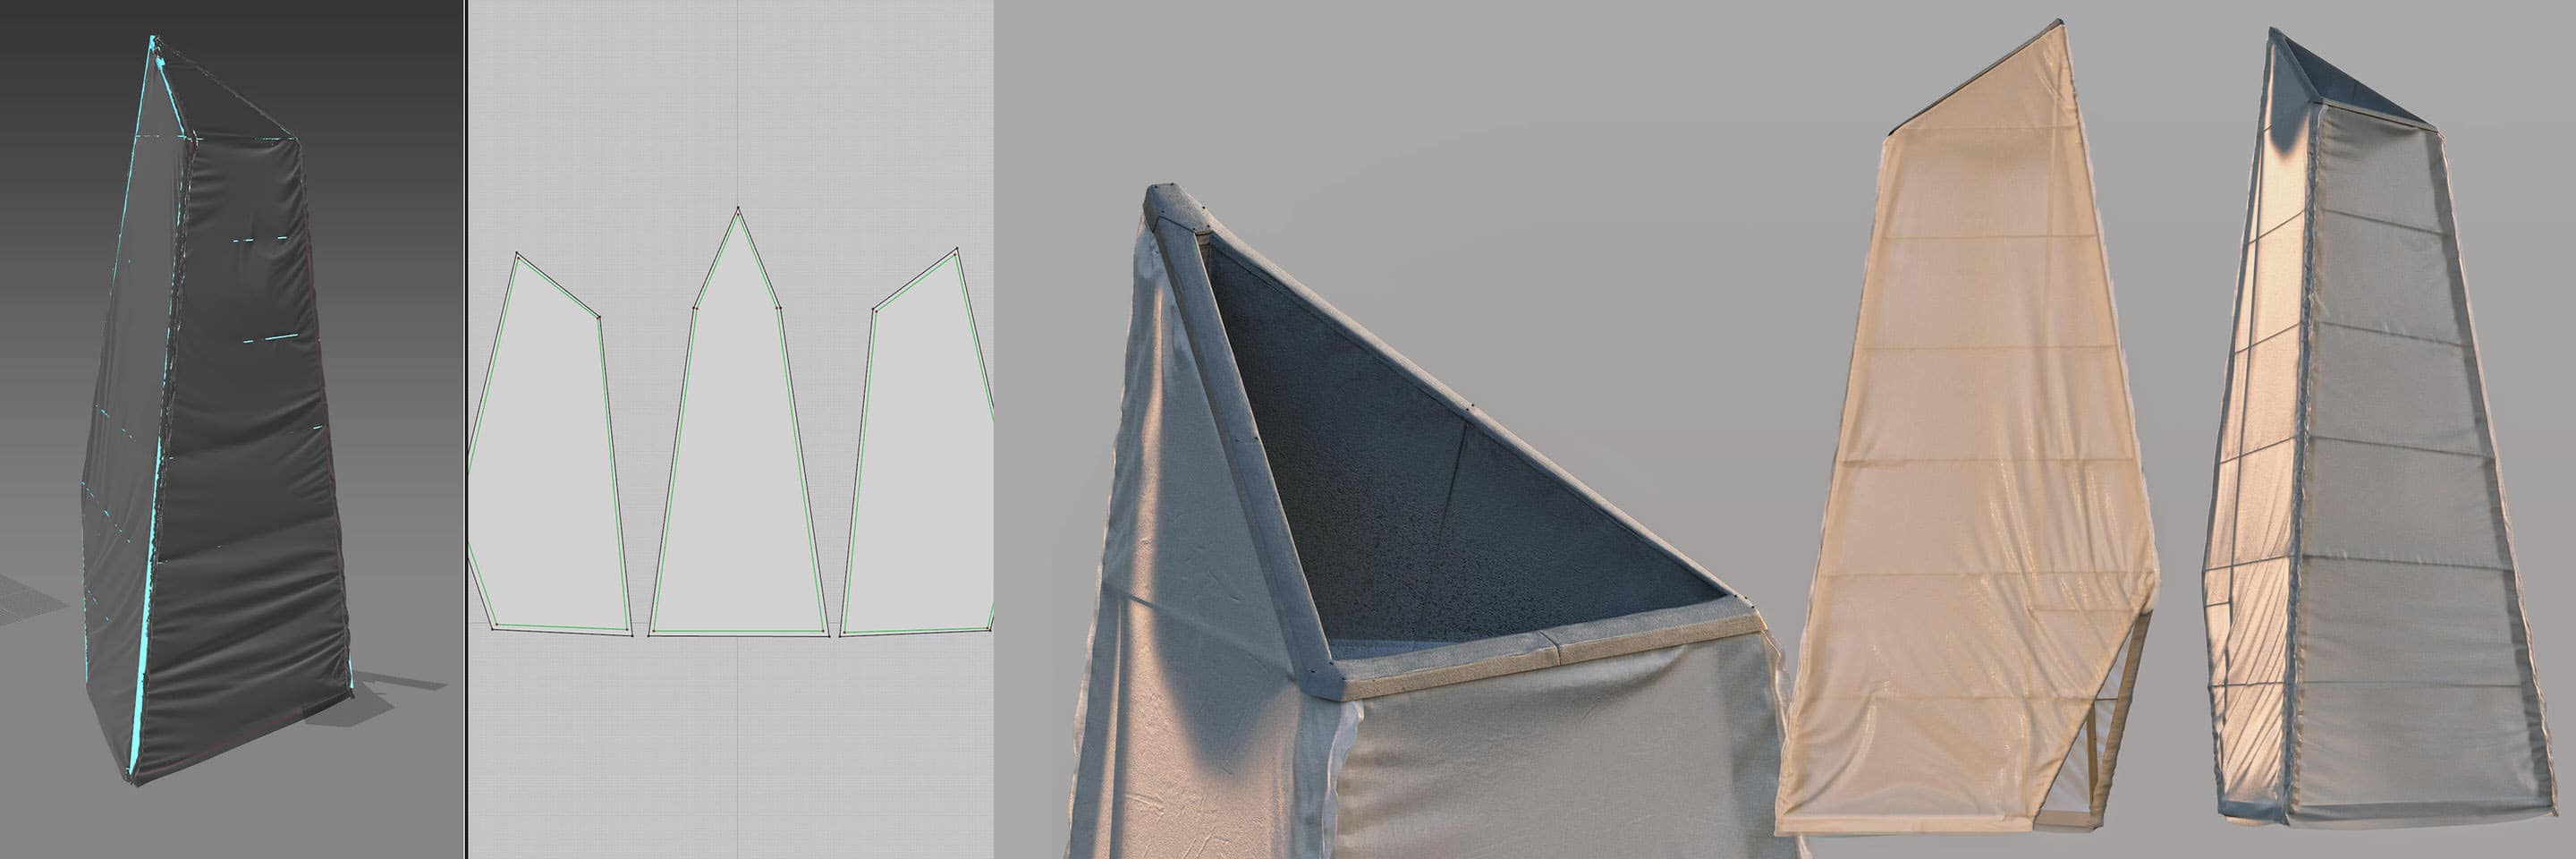
I outlined the general shape with the wood frame, and I tried to keep it relatively credible.
The external fabric was simulated in Marvelous Designer, using double seams on the edges. The results were intersecting with some tiny elements of the frame, but it could be easily manually fixed.
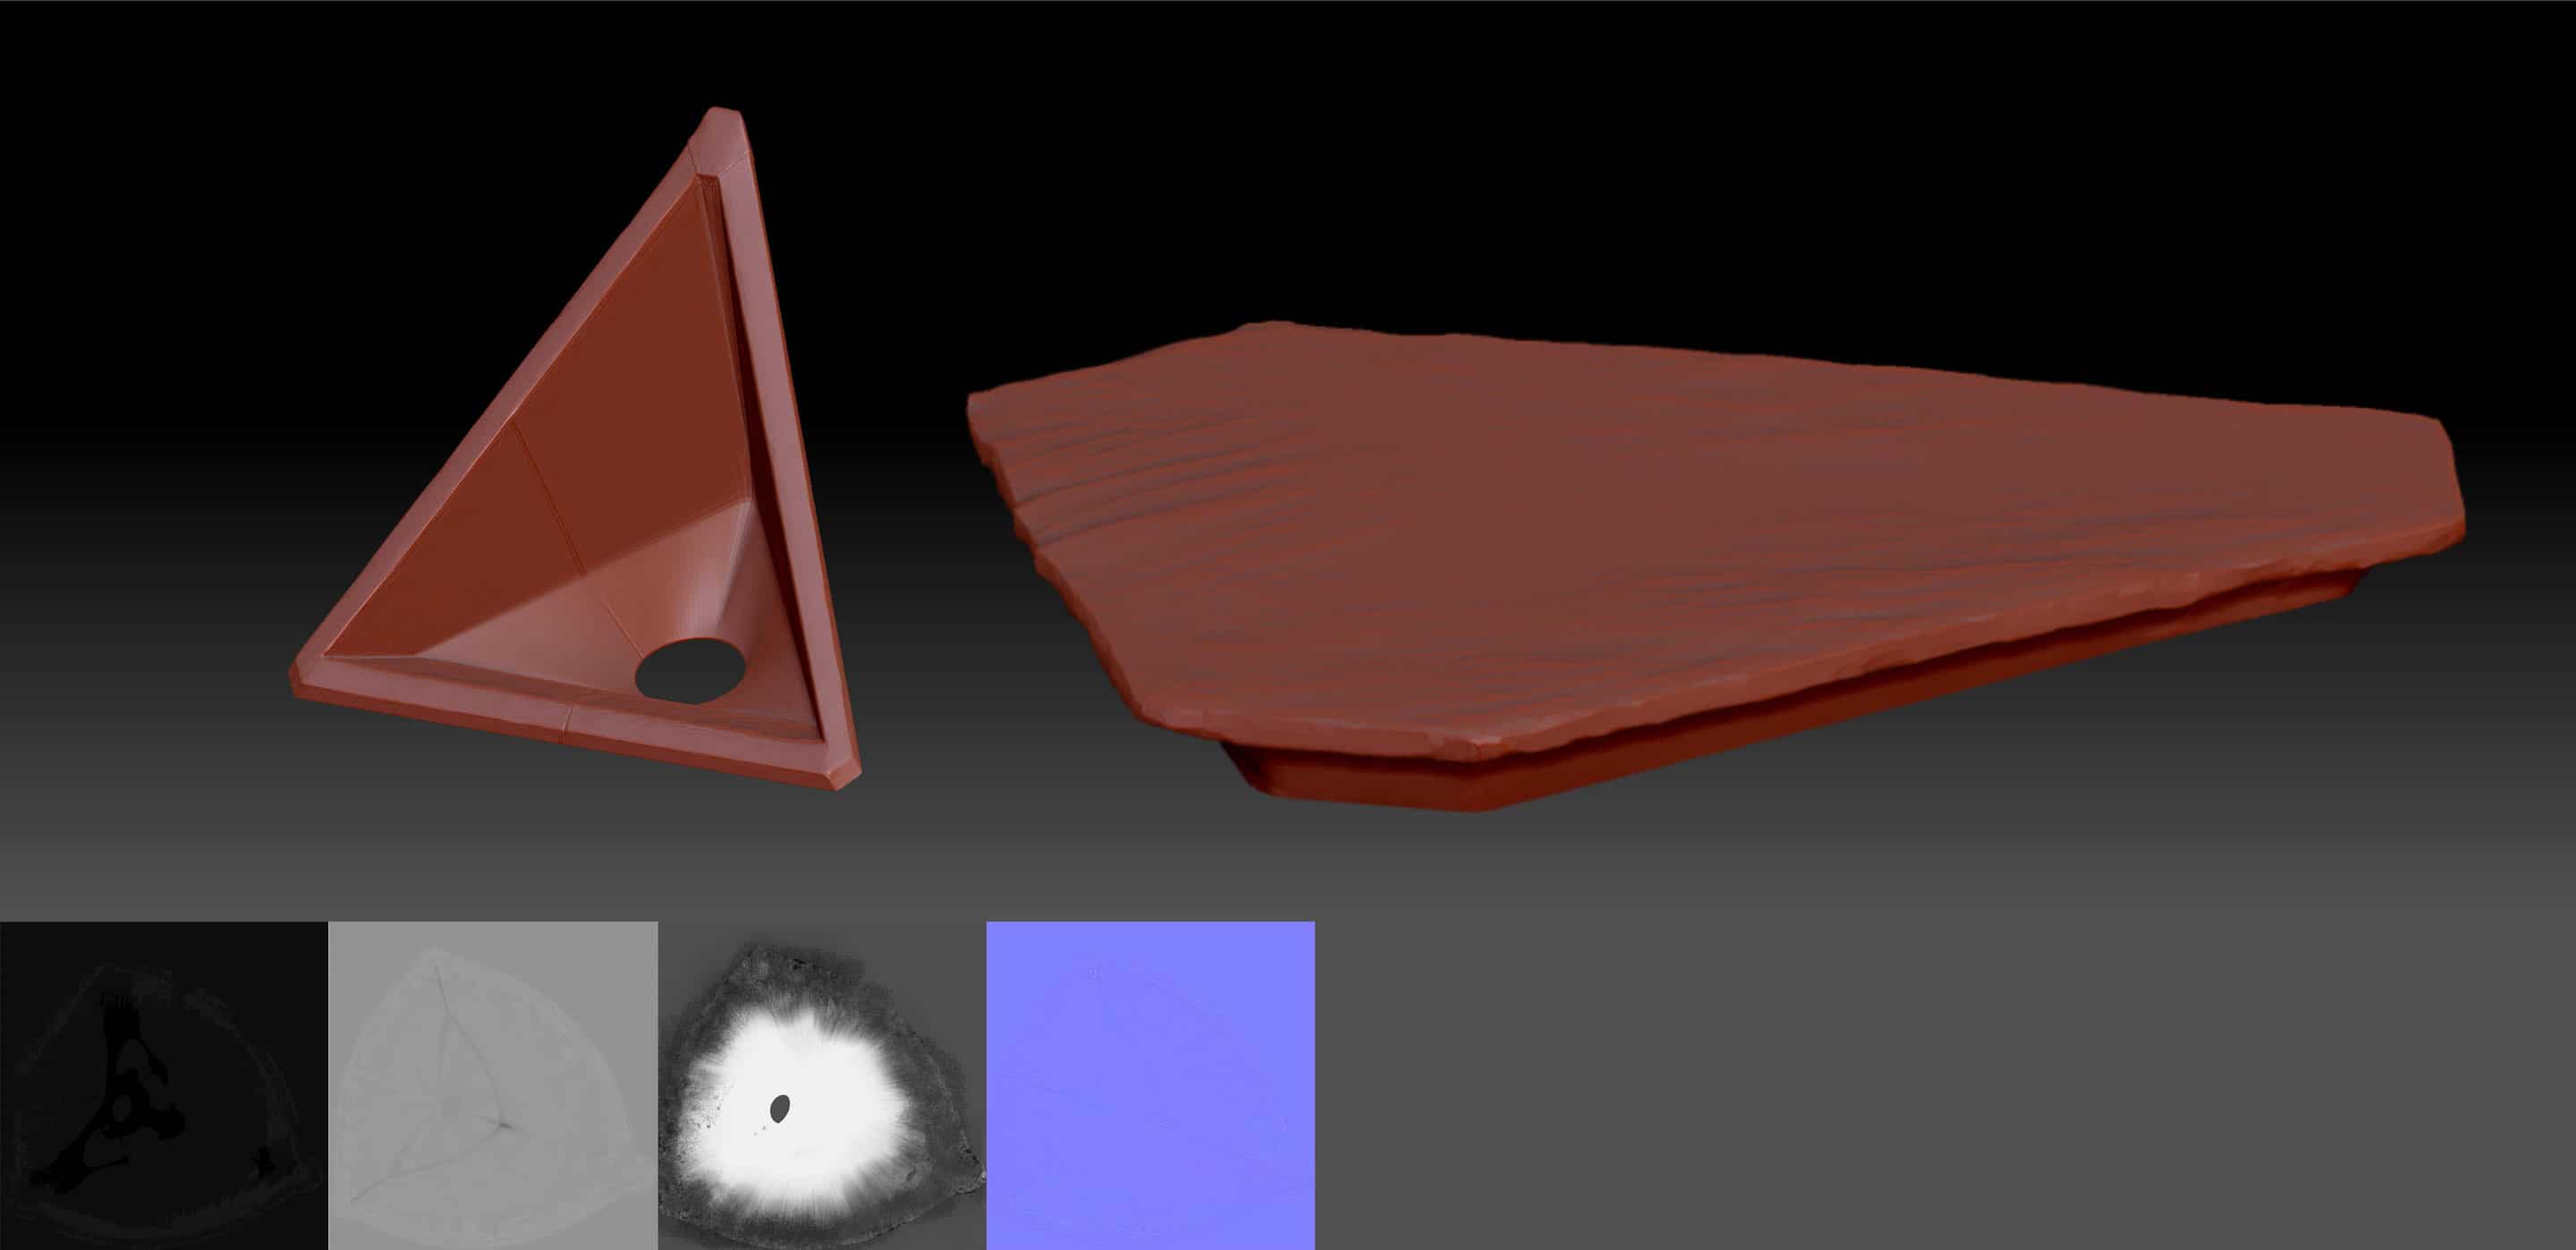
Other parts of the cabin were detailed in Zbrush.
“The purity of the form that I aspired to was based on the references of the Japanese objects which are made of wood and semi-translucent covers of fabric or polycarbonate.”
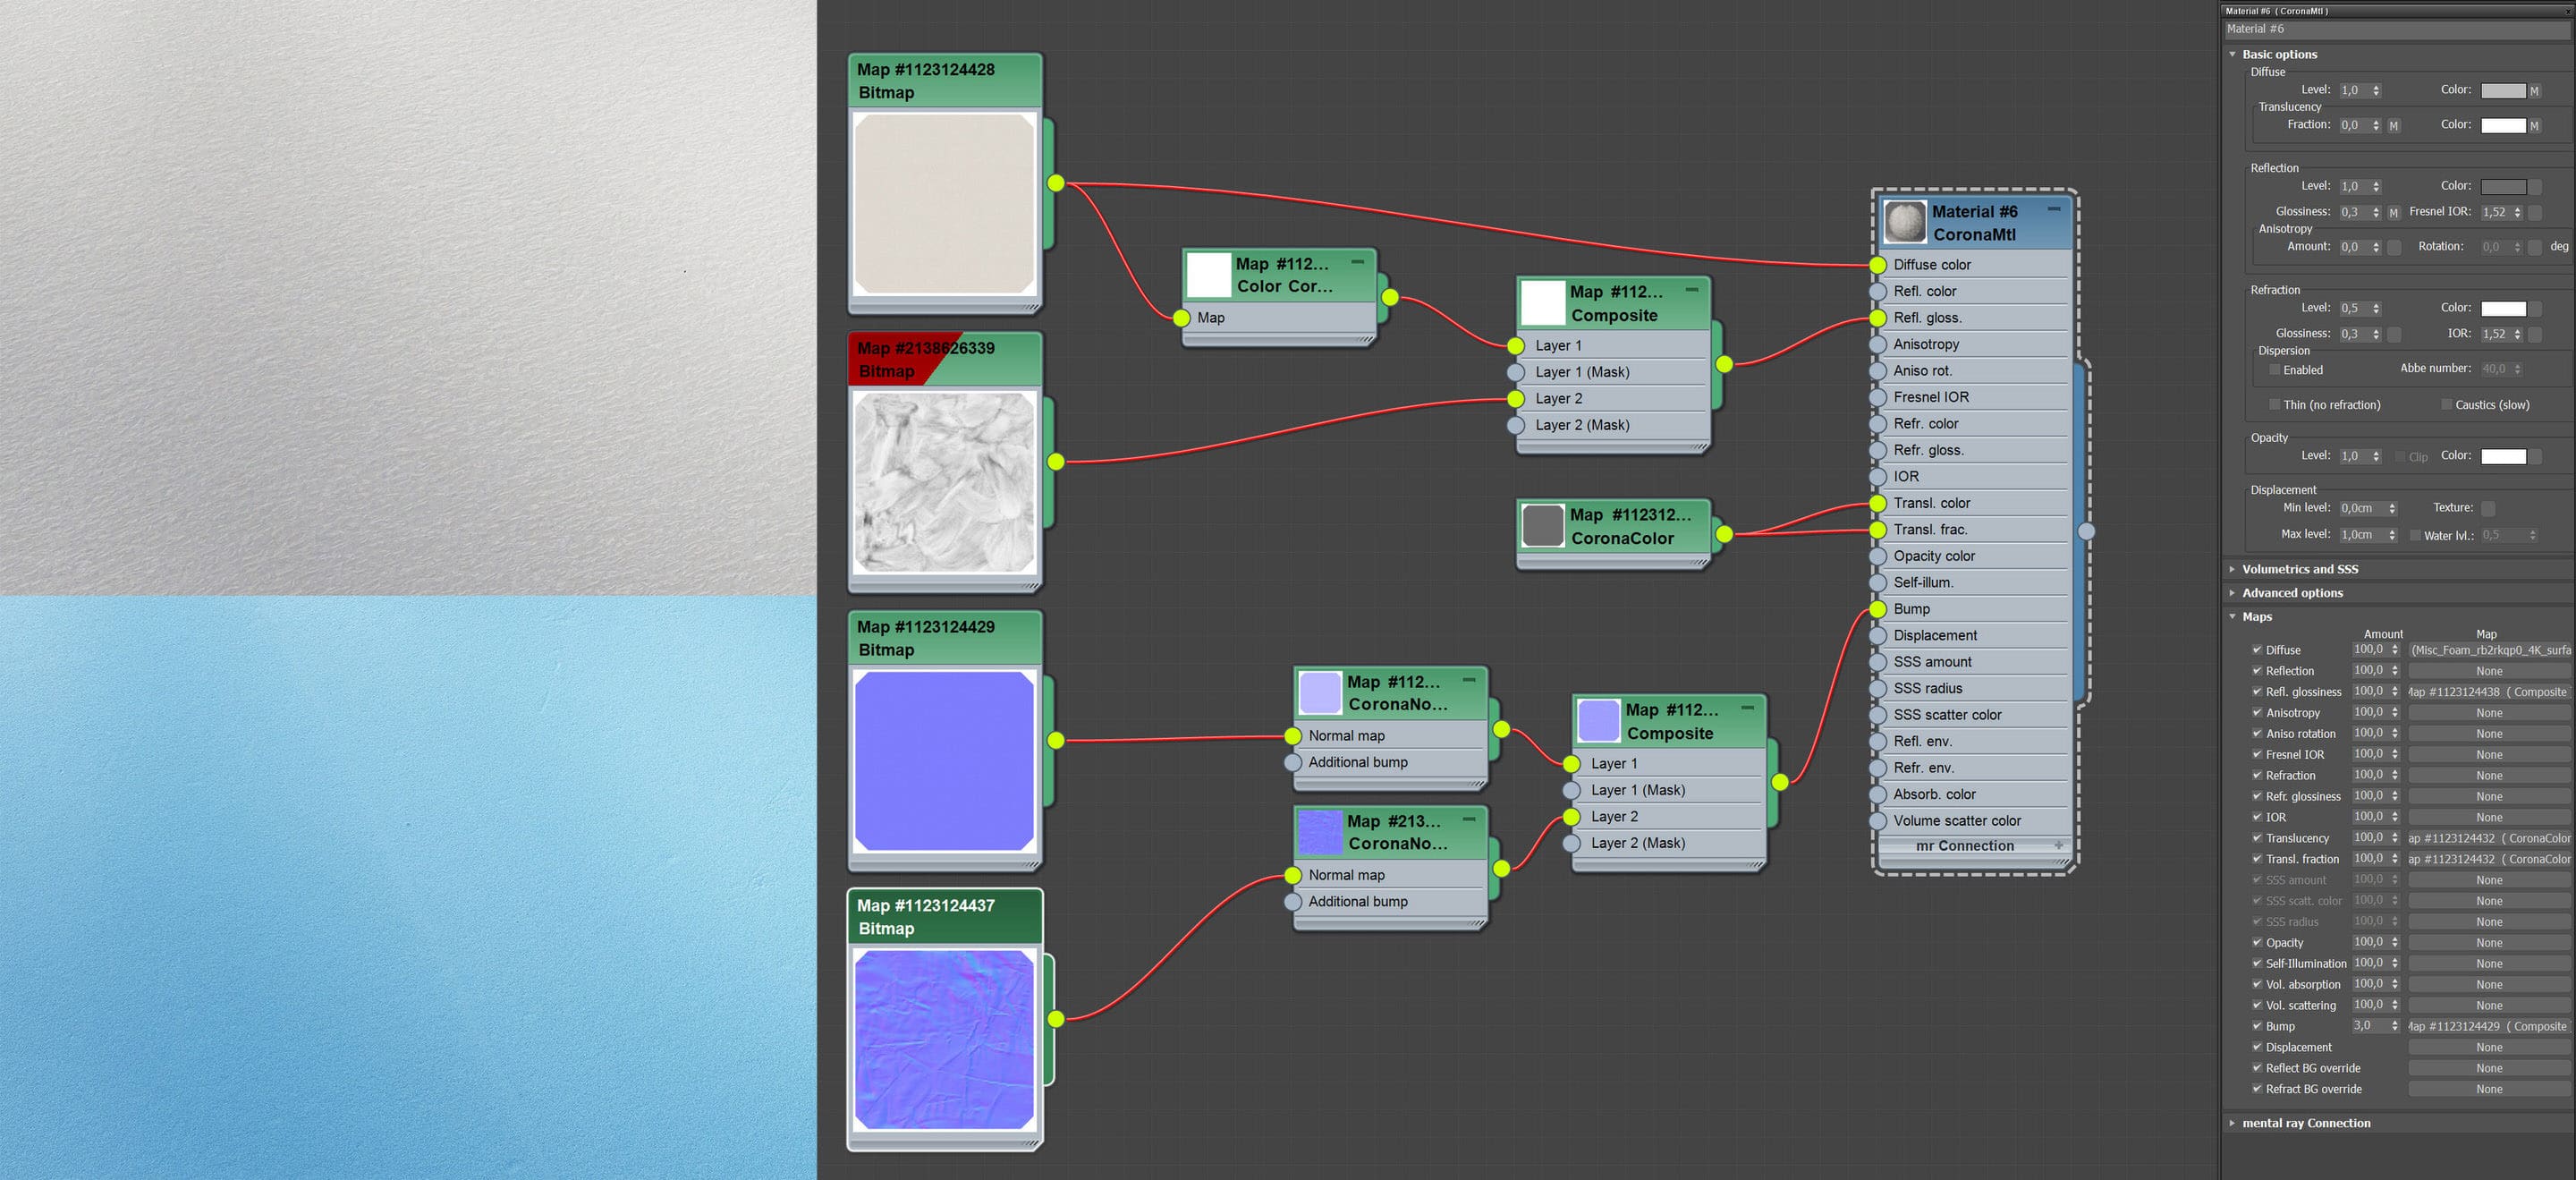
The material of the external cover was the crucial aspect of this project. I wanted the very specific translucency and some plastic glossiness that would evoke the construction site feel. Nothing too sophisticated, rather uniform and utilitarian.
Obviously, meeting those expectations required a lot of trials and errors from me. I set up a few lighting scenarios and checked the changes in all of them so as to get as close to the perfect result as possible. I helped myself with a few maps from Megascans which brought some intricate details.
3D Terrain
Apart from a few bonus scenes, my environment was pretty barren, and I couldn’t hide the terrain’s characteristics underneath the vegetation.
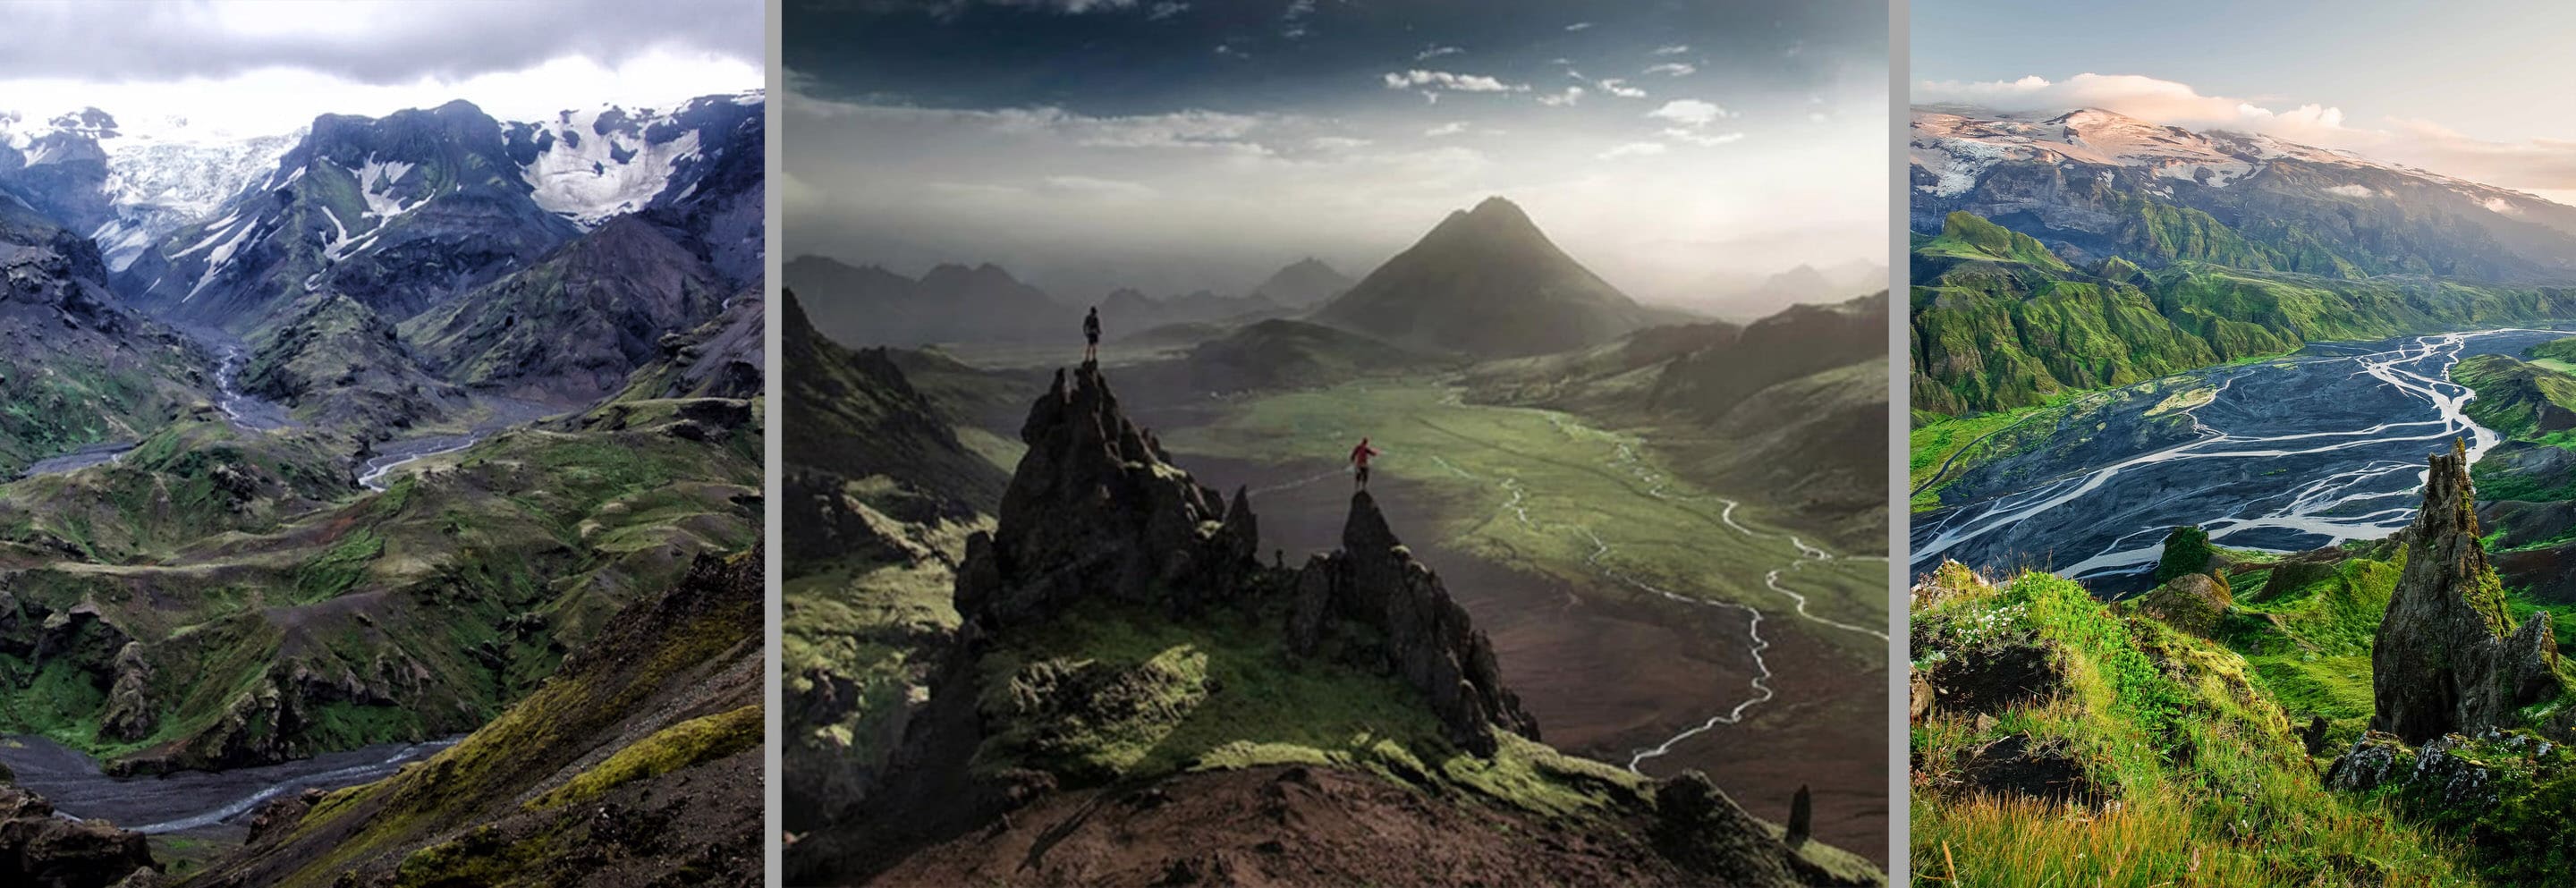
I started with collecting a bunch of references and creating the basic typology of geological forms I needed. I also assigned the specific tools I wanted to use.
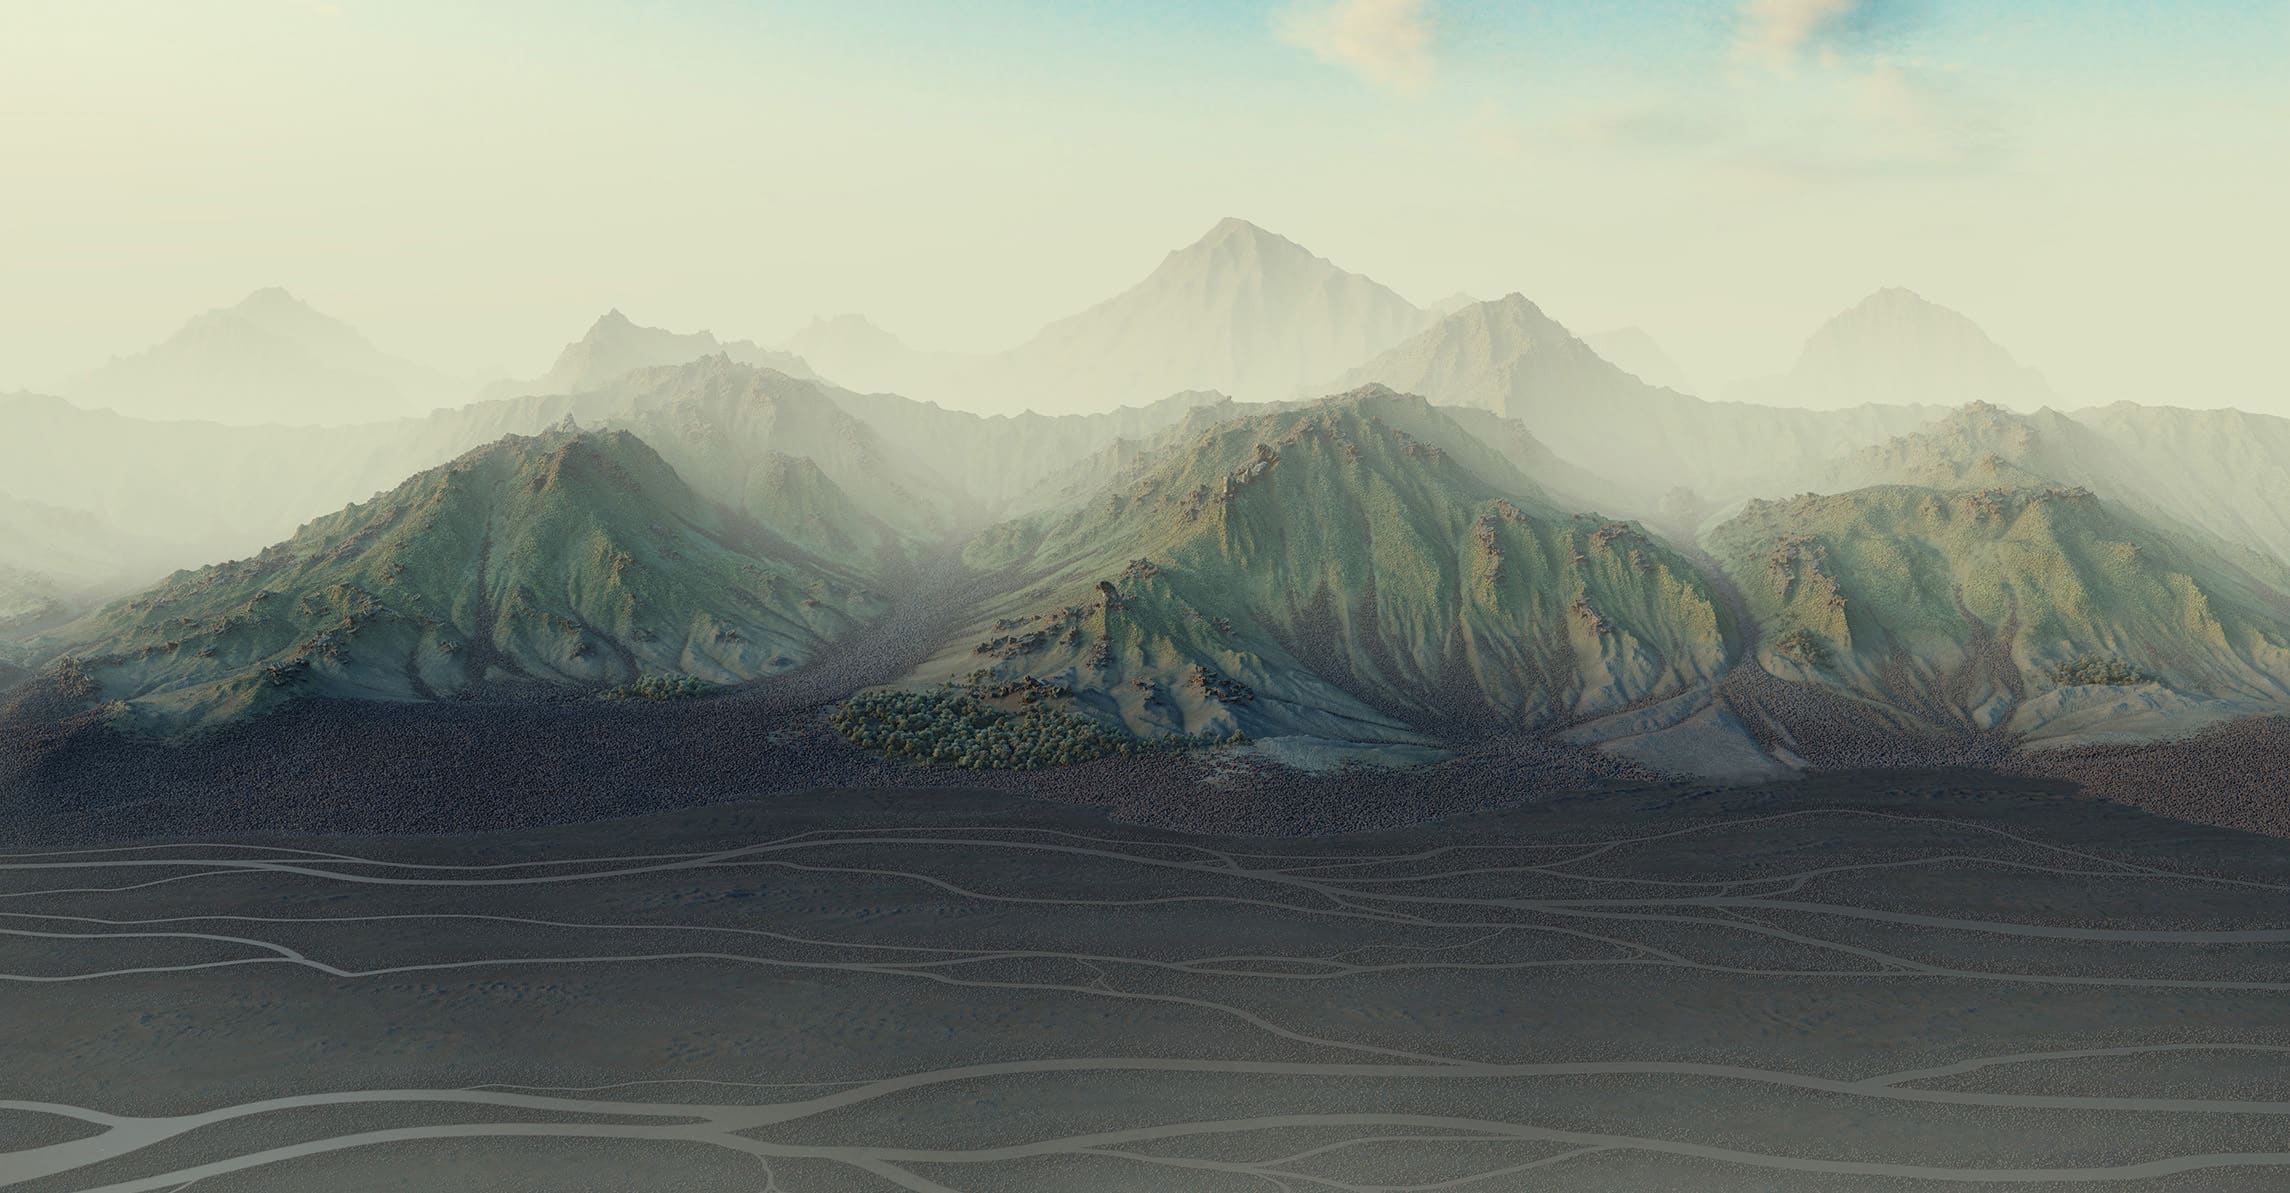
HUGE FORMS (everything from a single peak to mountain ranges, glaciers) – I decided to base my workflow here on World Machine and bring some additional detailing in Zbrush.
MEDIUM FORMS (screen, couloir, others – everything that exists in the context of enormous scale geomorphology but is close enough to s camera to require some extra detailing) – I decided to base it on photogrammetry and Zbrush.
SMALL FORMS (stones, rocks, small cliffs) – This scale is in 80% made of Megascans and complemented with some other assets I already had prepared.
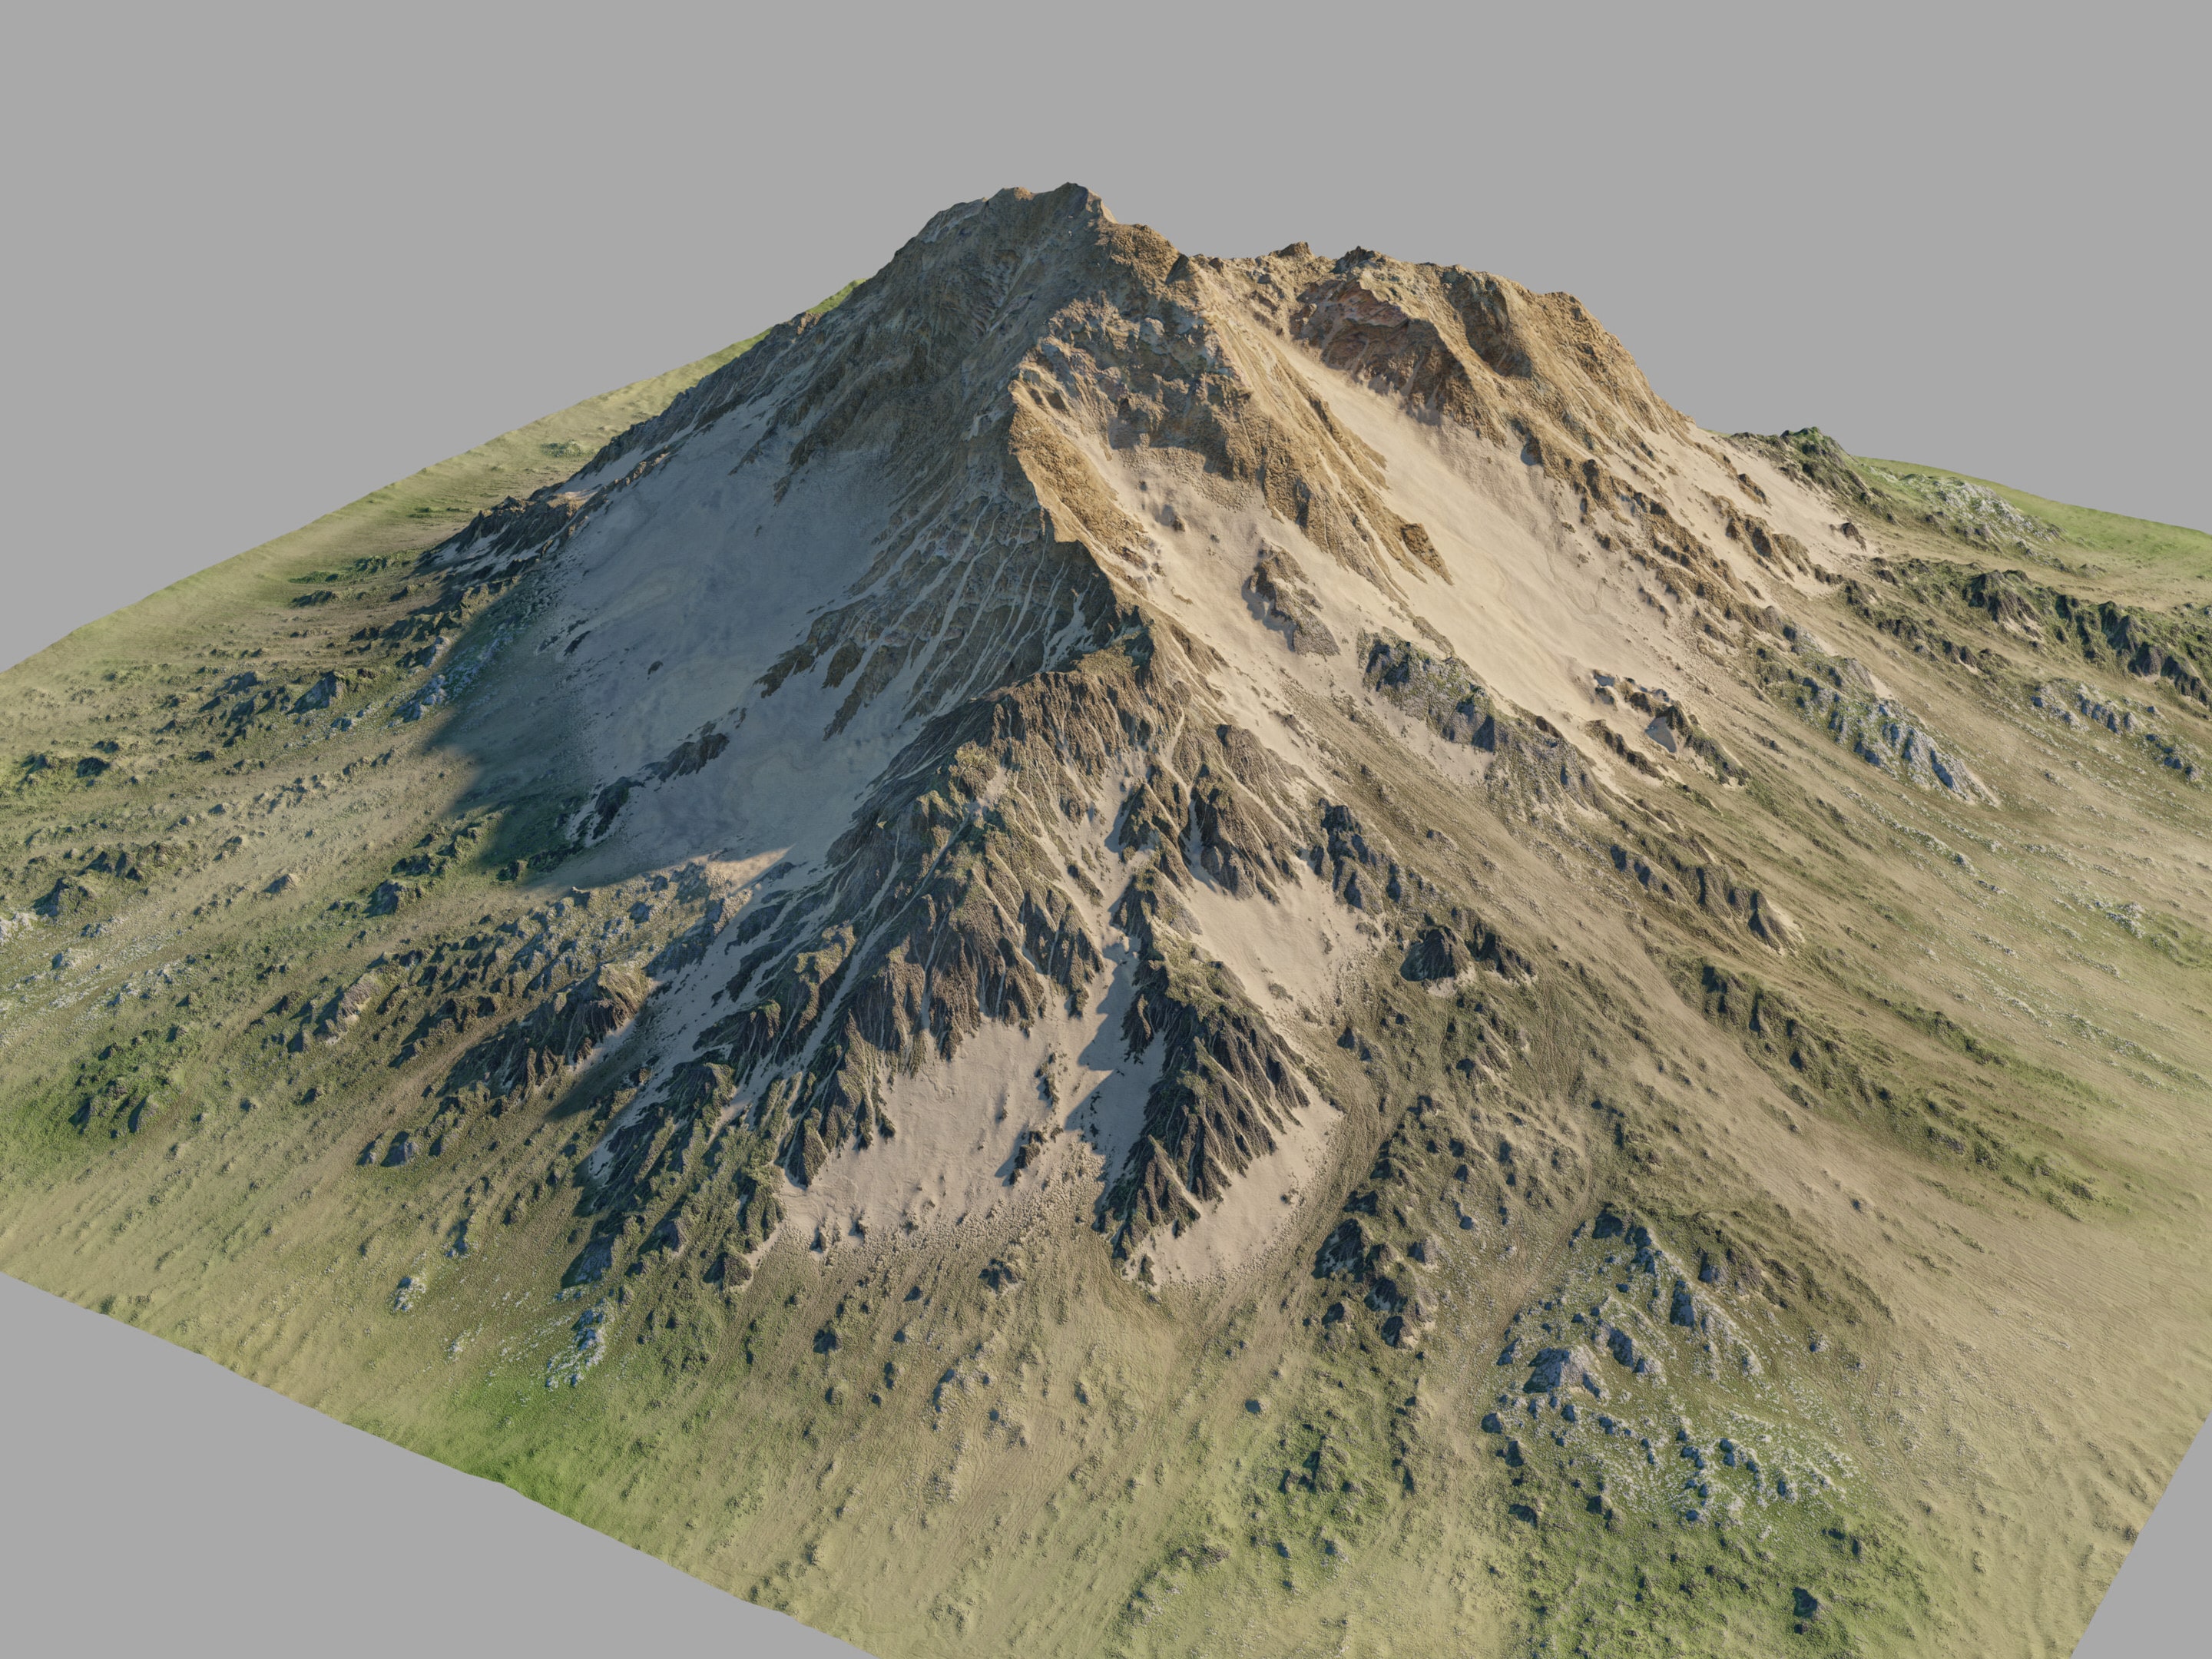
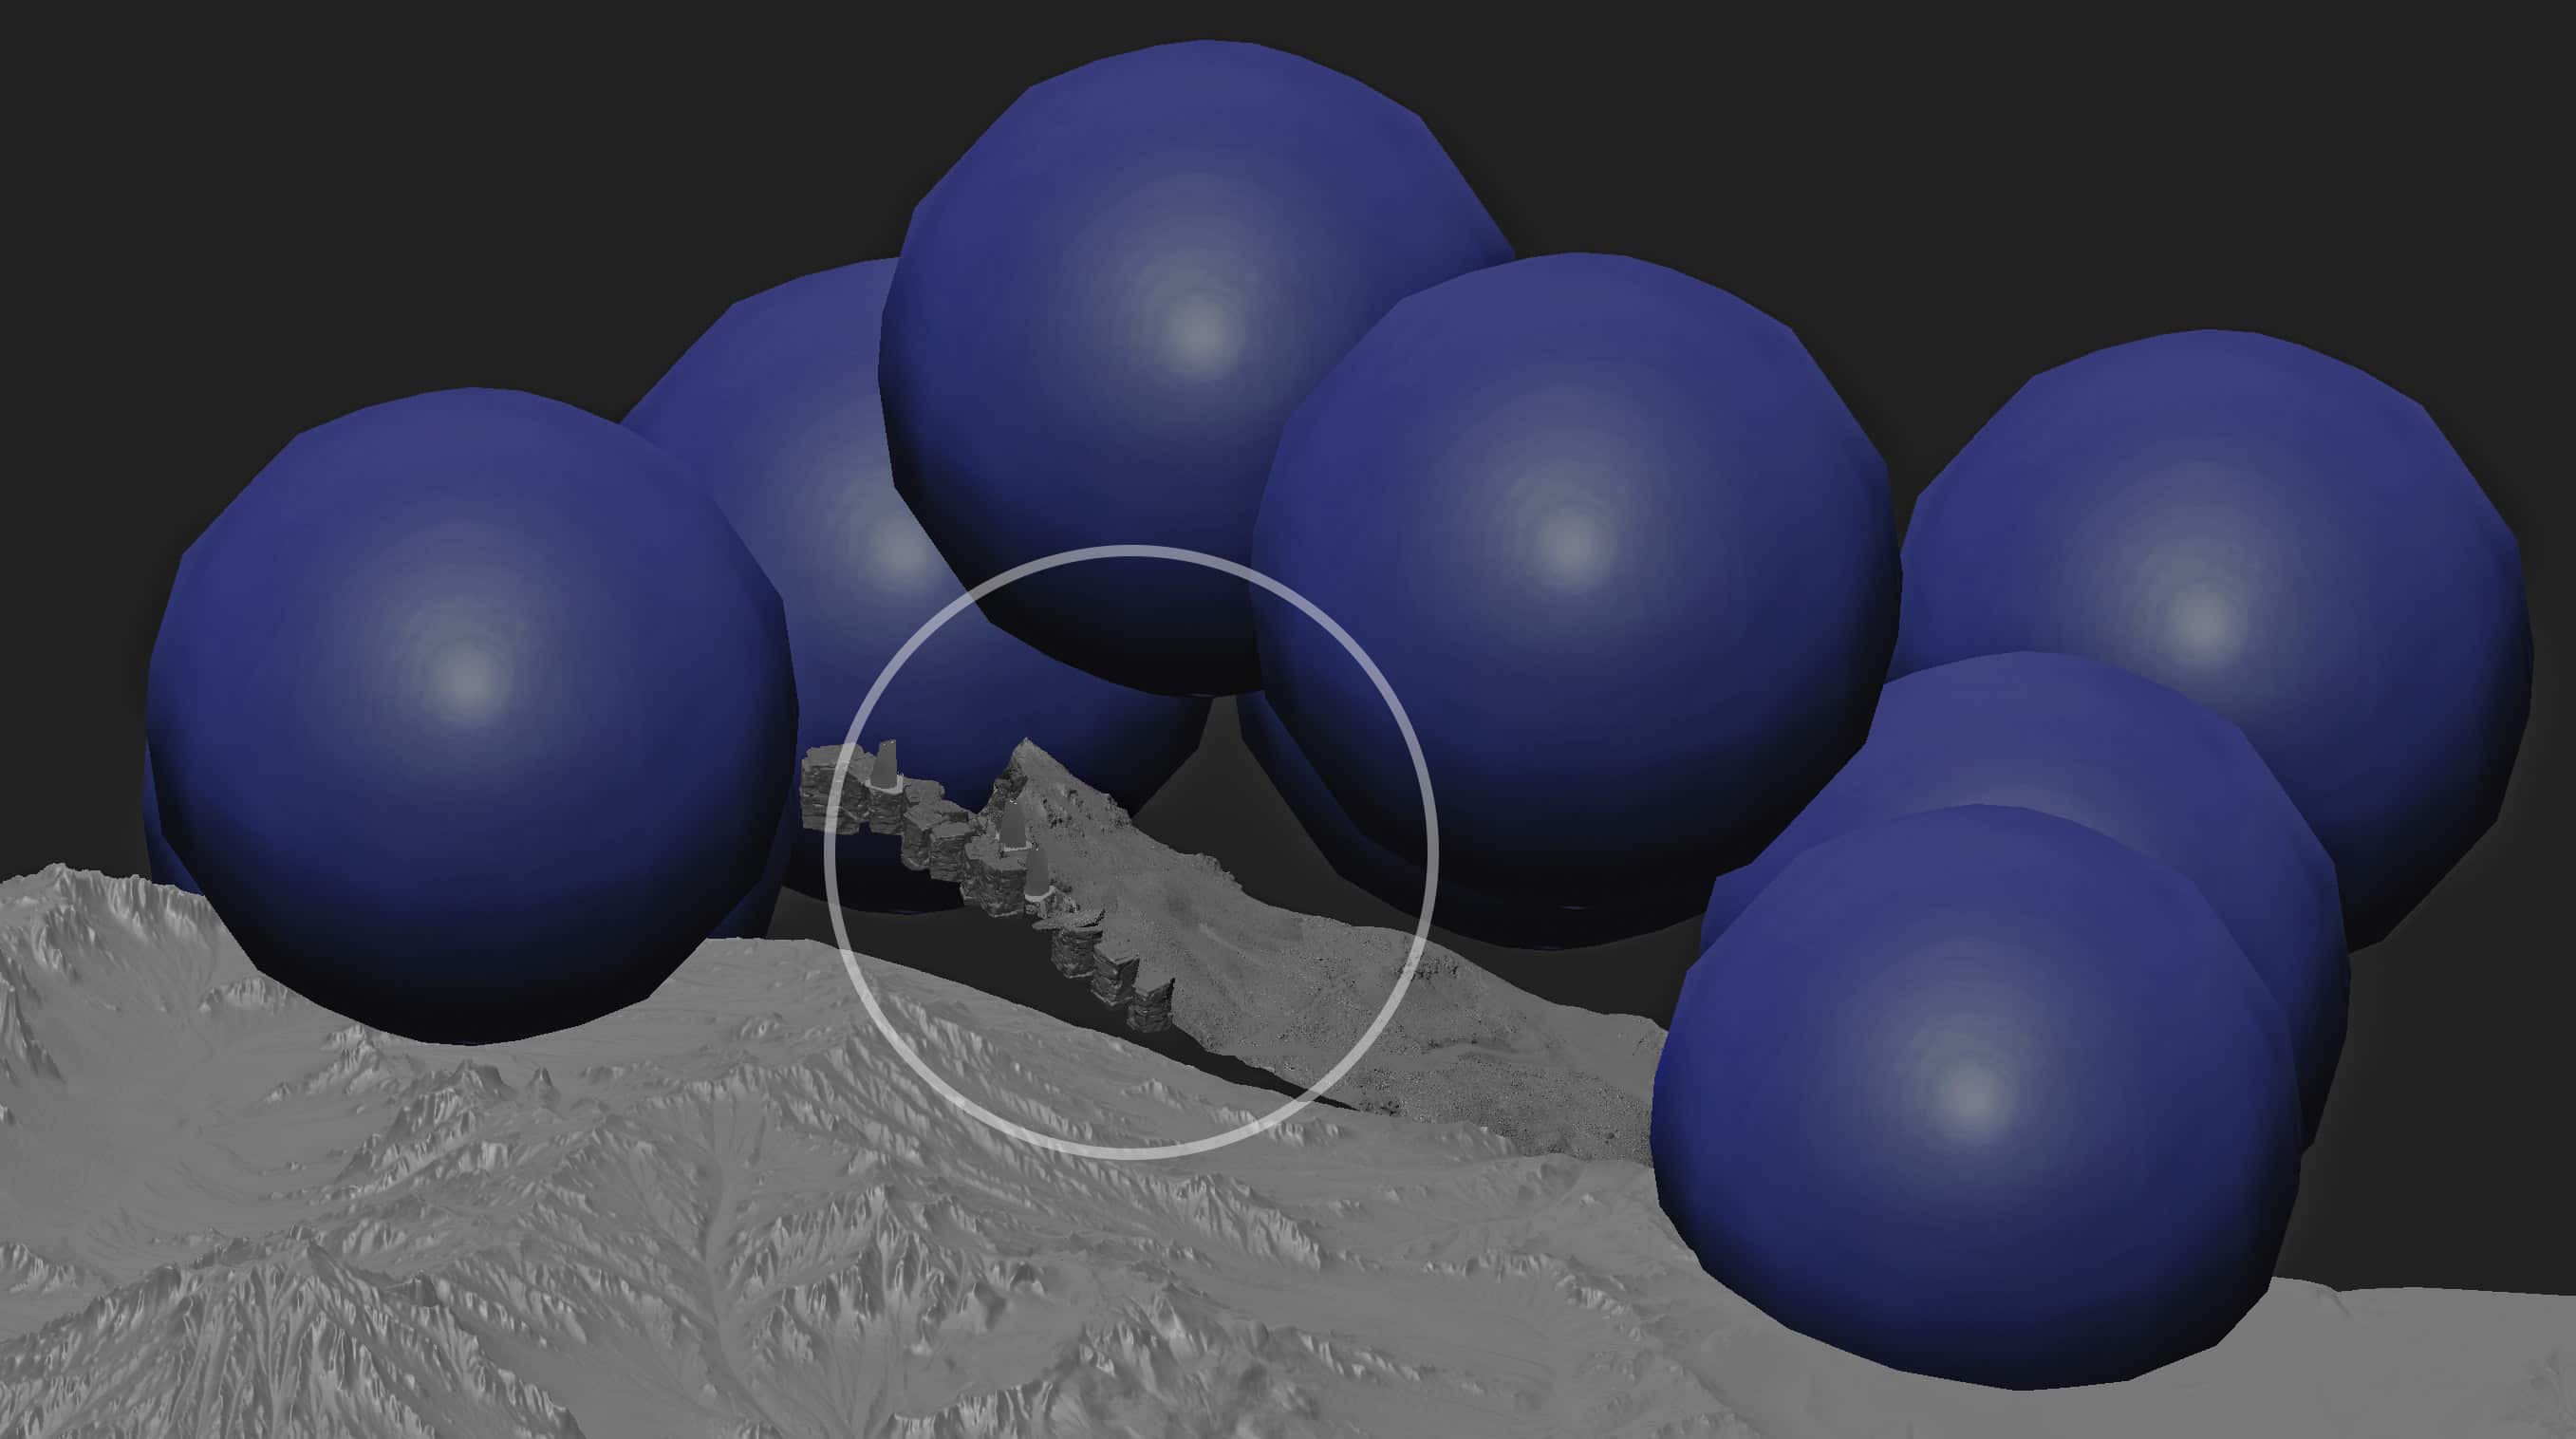
I established the base form with some parametric variations. In this case, it’s only the lone mountain, but usually, I cover the larger area. After computing the erosion and weathering, I get the plausible shape. The first coloring is made with the help of the maps generated during the performed simulations, e.g., representing erosion flow, sediment deposits, weathering, etc.
I like the results apart from the ridge area. It’s usually very erosion dependant and doesn’t represent the variety of geological structures that can appear. This is why I decided to include Zbrush into my workflow and re-sculpt those parts of the asset.
I must mention that the World Machine output can be mesh or height map based. Since there is a possibility to generate 16k maps, this option usually bears more detail information (unless one goes hi-poly). However, I chose the mesh based workflow here because I planned to scatter other assets over the mountains later (mostly low vegetation and rocks). This also allowed me to recreate some of the lost details via sculpting and to bake normal maps.
Working in Zbrush was pretty straightforward and included trimming the ridges (to achieve some sharp edges) and using rock alphas to brush new details.
“I must mention that the World Machine output can be mesh or height map based. Since there is a possibility to generate 16k maps, this option usually bears more detail information.”
3D Terrain Generation
As I have already mentioned, a majority of Megascans used in this project was various kinds of rocks. There were examples of granite, volcanic and sandstones types. I adjusted their albedos to get the consistent look. Importing them into the scene was an easy task.
I used the highest LOD version with an additional displacement applied, and while I had 20-30 unique assets in the scene, the memory consumption would get pretty high. This could be easily optimized, though – it was just me getting greedy for indiscernible details. There would be hardly any difference if I turned the displacement off.
Above are Megascans and other assets used in scenes (not all of them and not in scale here).
Working with Megascans
I mentioned that vegetation wasn’t a big part of this project, but I made a few bonus scenes to practice some techniques. I used a lot of 3rd party assets, yet also created a few by myself. One of them is the native Eriophorum grass, but it’s merely a utilization of the 3dsMax hair&fur modifier so I won’t cover it in this making-of.
Instead of it, I will discuss some trees generated in TheGrove3d (although they didn’t get into the spotlight of the frame). This software works as the add-on within Blender environment and simulates the growth of a tree in the intervals of one year.
Although it has some limitations, the trees can be produced in a few clicks (by using presets), and their branching is very plausible. Twigs/leaves are distributed by scattering, which can be helpful and make it easy to work along with Megascans atlas files.
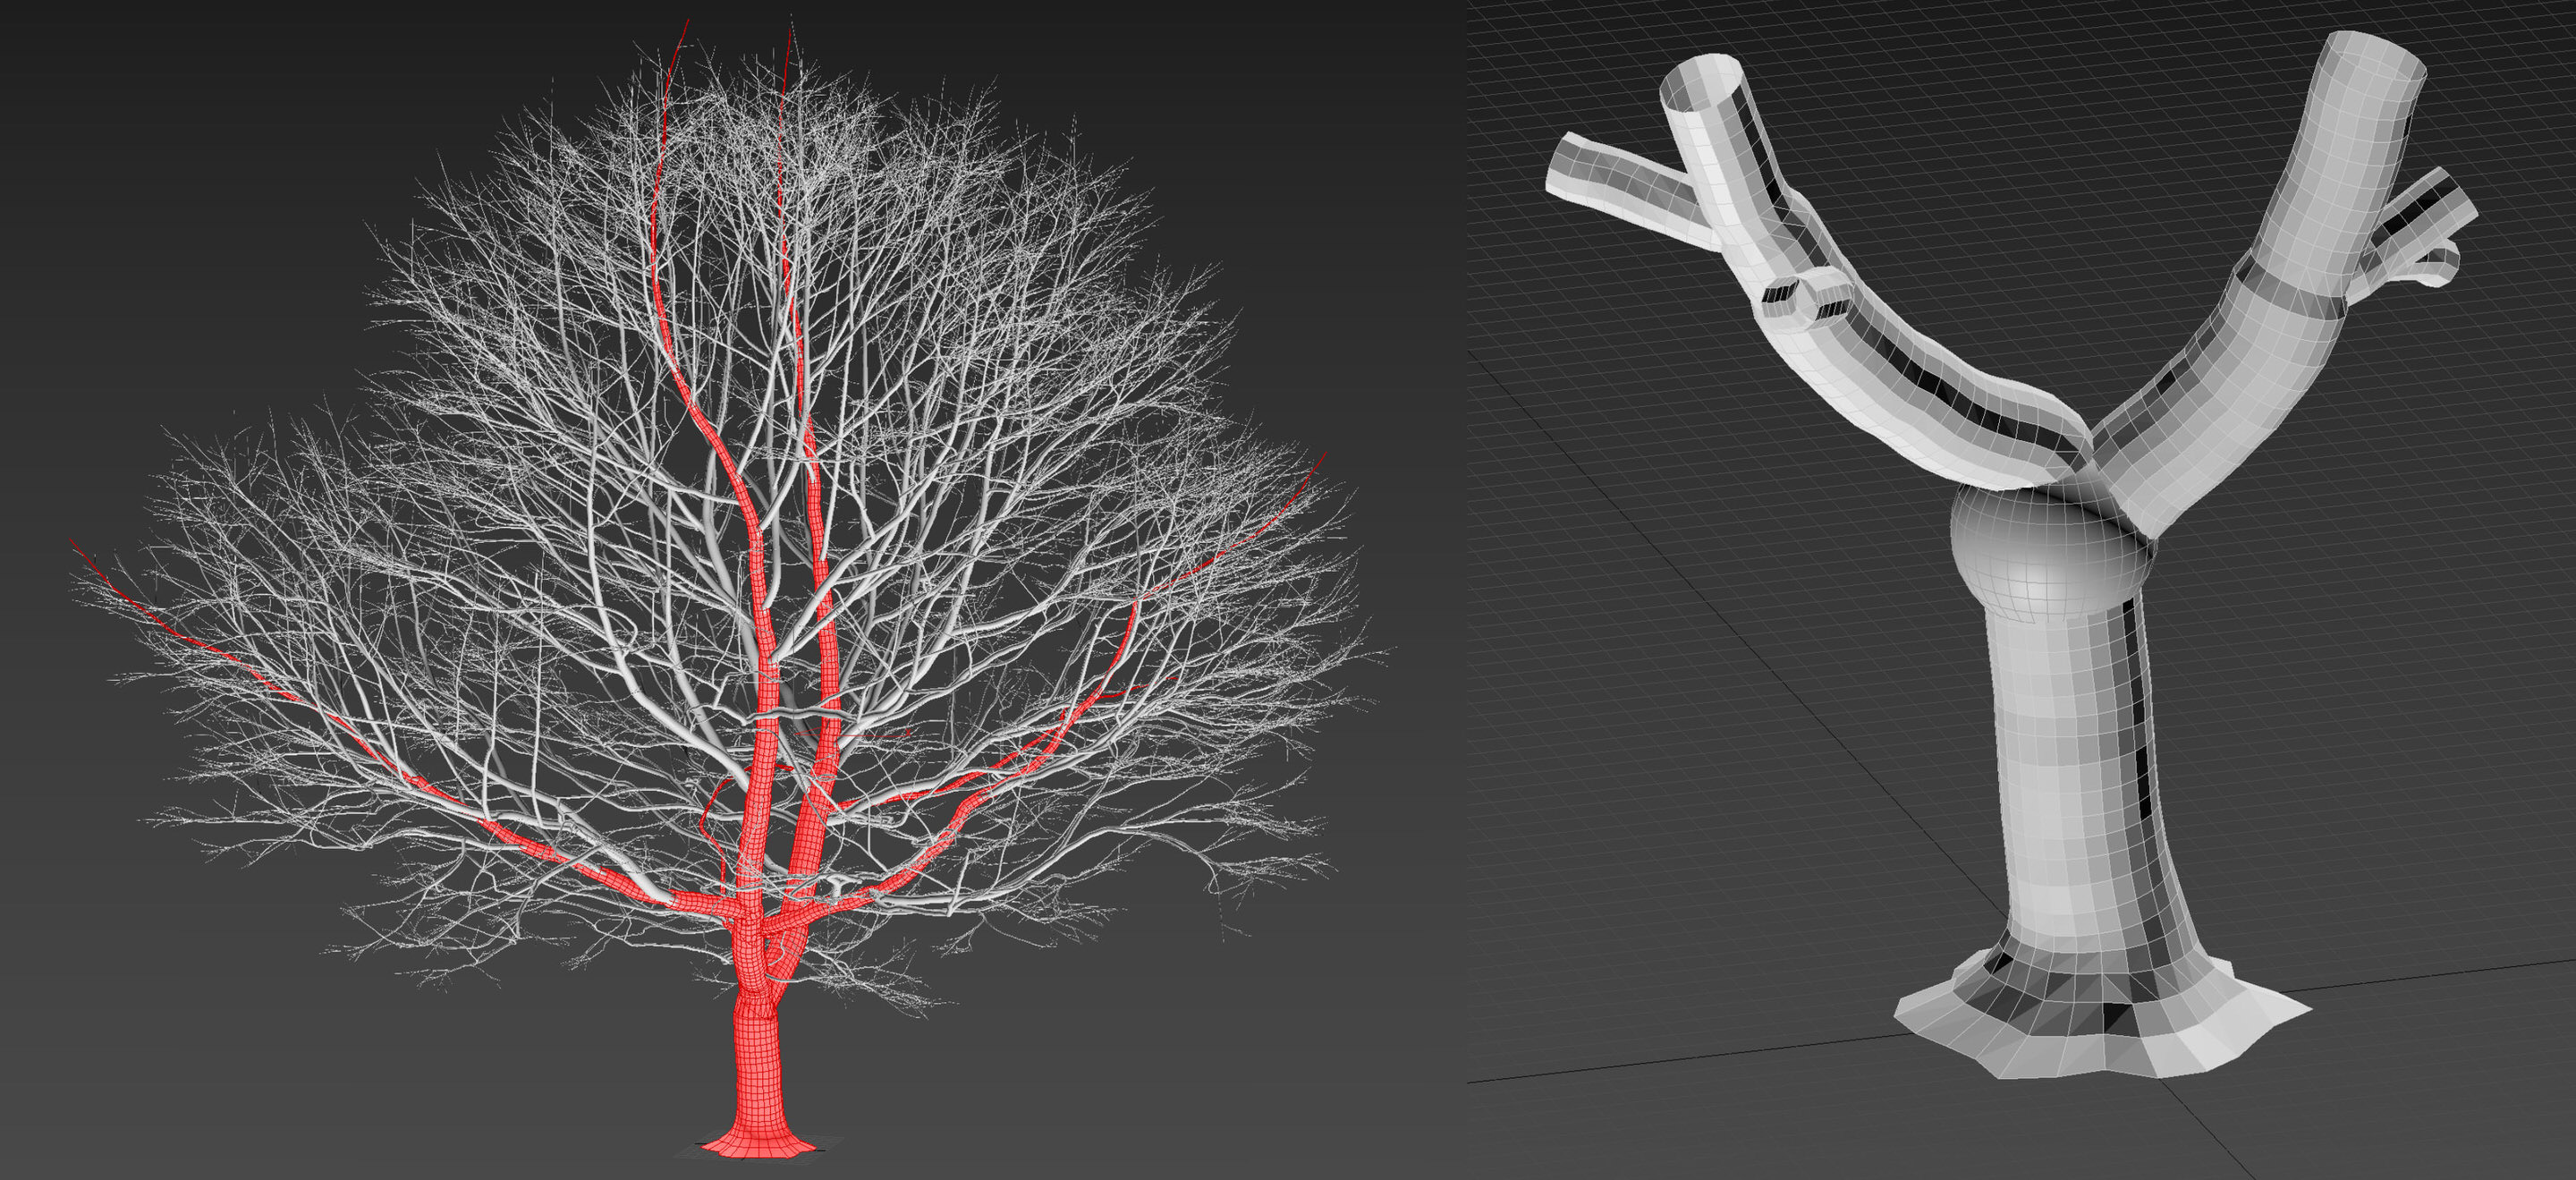
The only significant problem I have with the outcome is a generic look of a trunk with some additional issues regarding intersecting meshes of main branches. This is how I work around it.
I detach main branches and delimit the polygons that need more detailing (shown here with a basic sphere covering the areas of intersecting meshes).
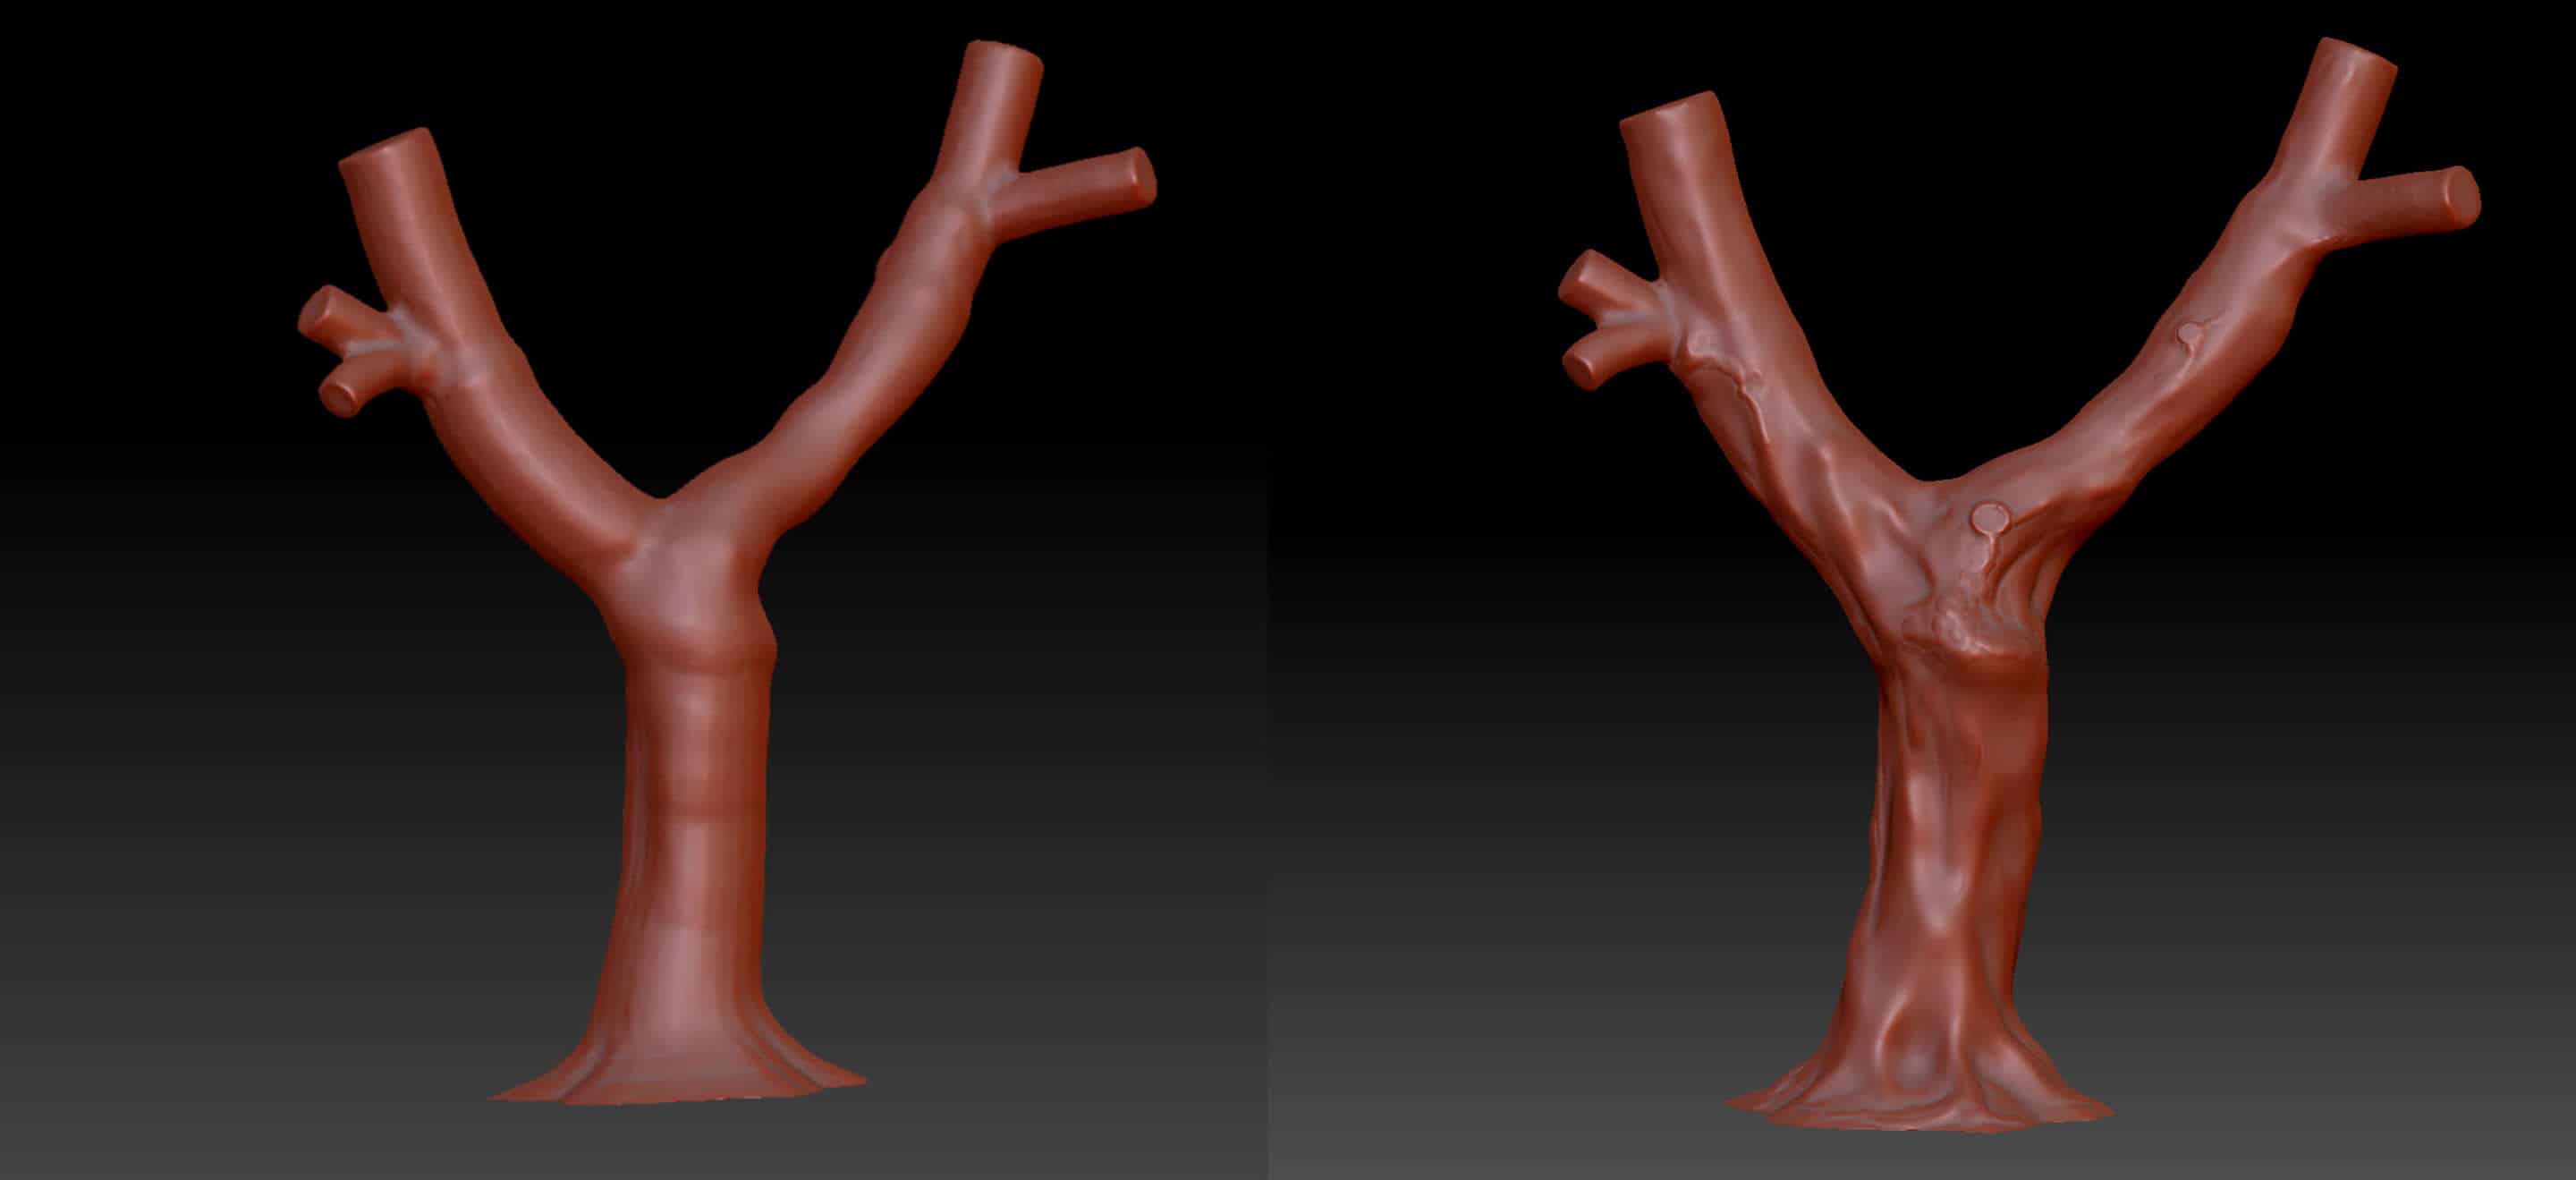
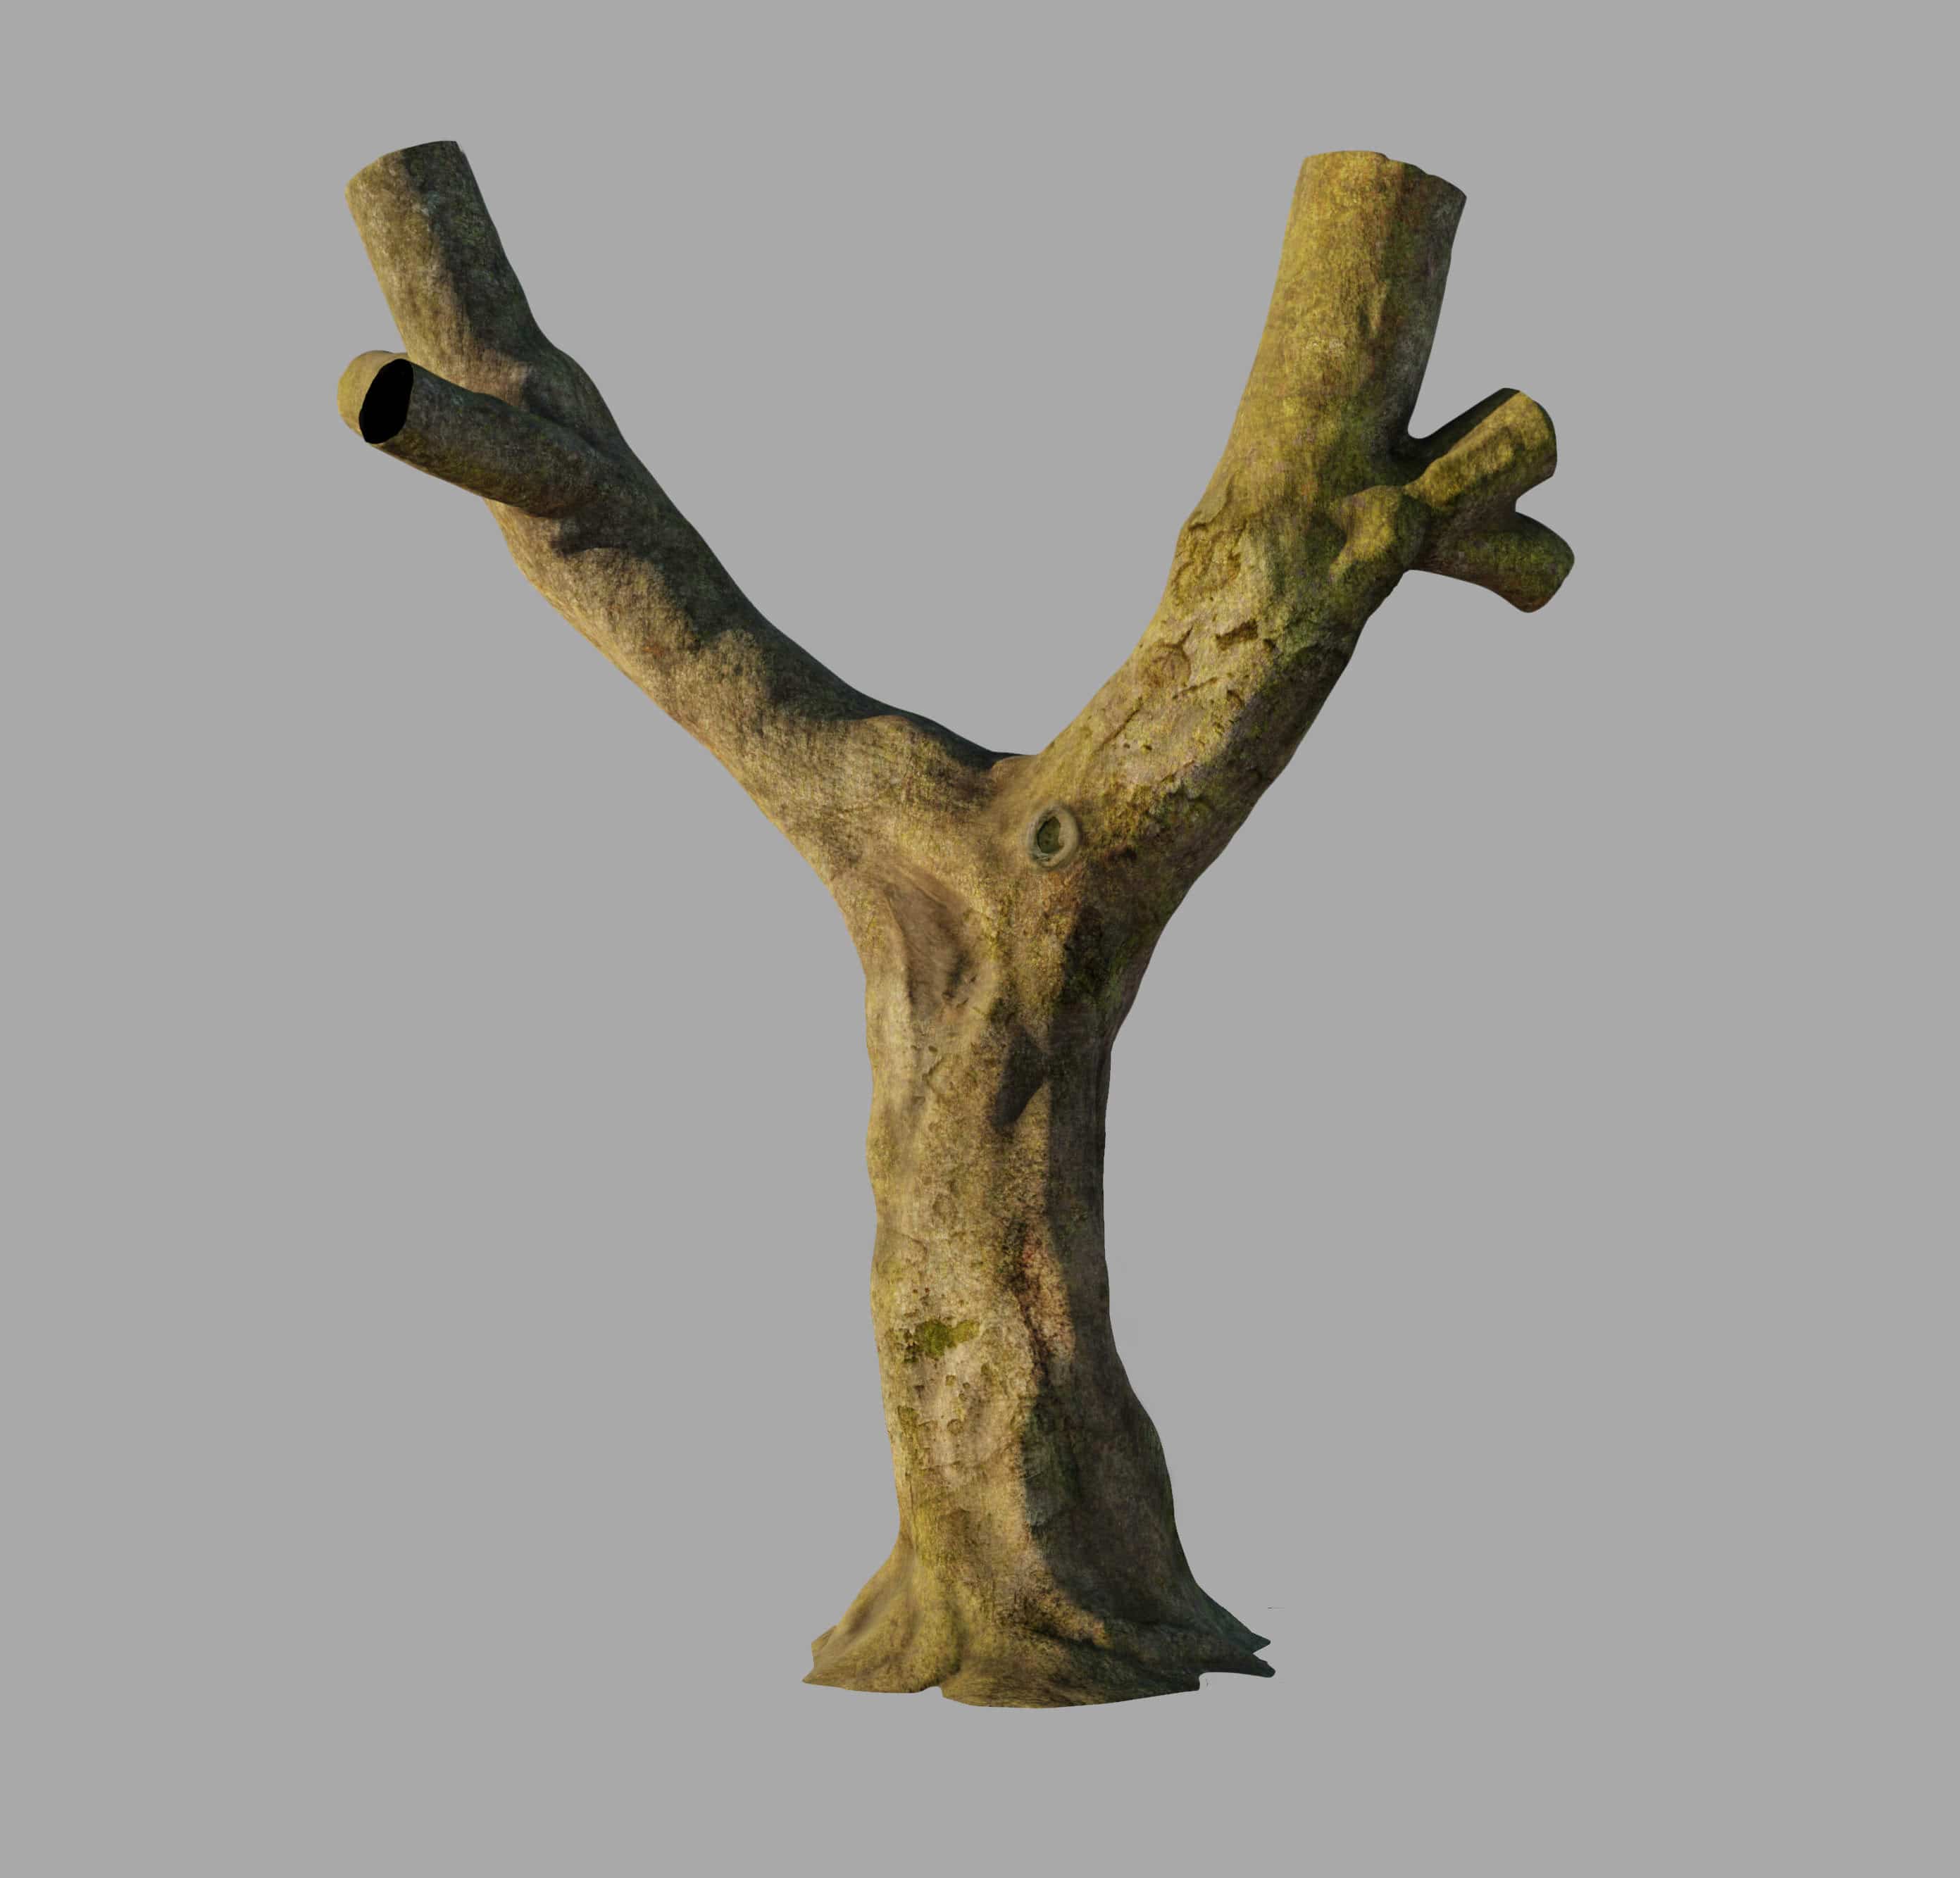
I am too impatient to fix the mesh manually, so I import the attached object into Zbrush and change it into Dynamesh. The new quad-only mesh is projected onto the trunk, and it becomes a great base for further sculpting.
Framing, Lighting, Rendering and Post Production
The project consists of various scenes, and it’s hard to find common ground when describing them. Let me just to pick a few examples.
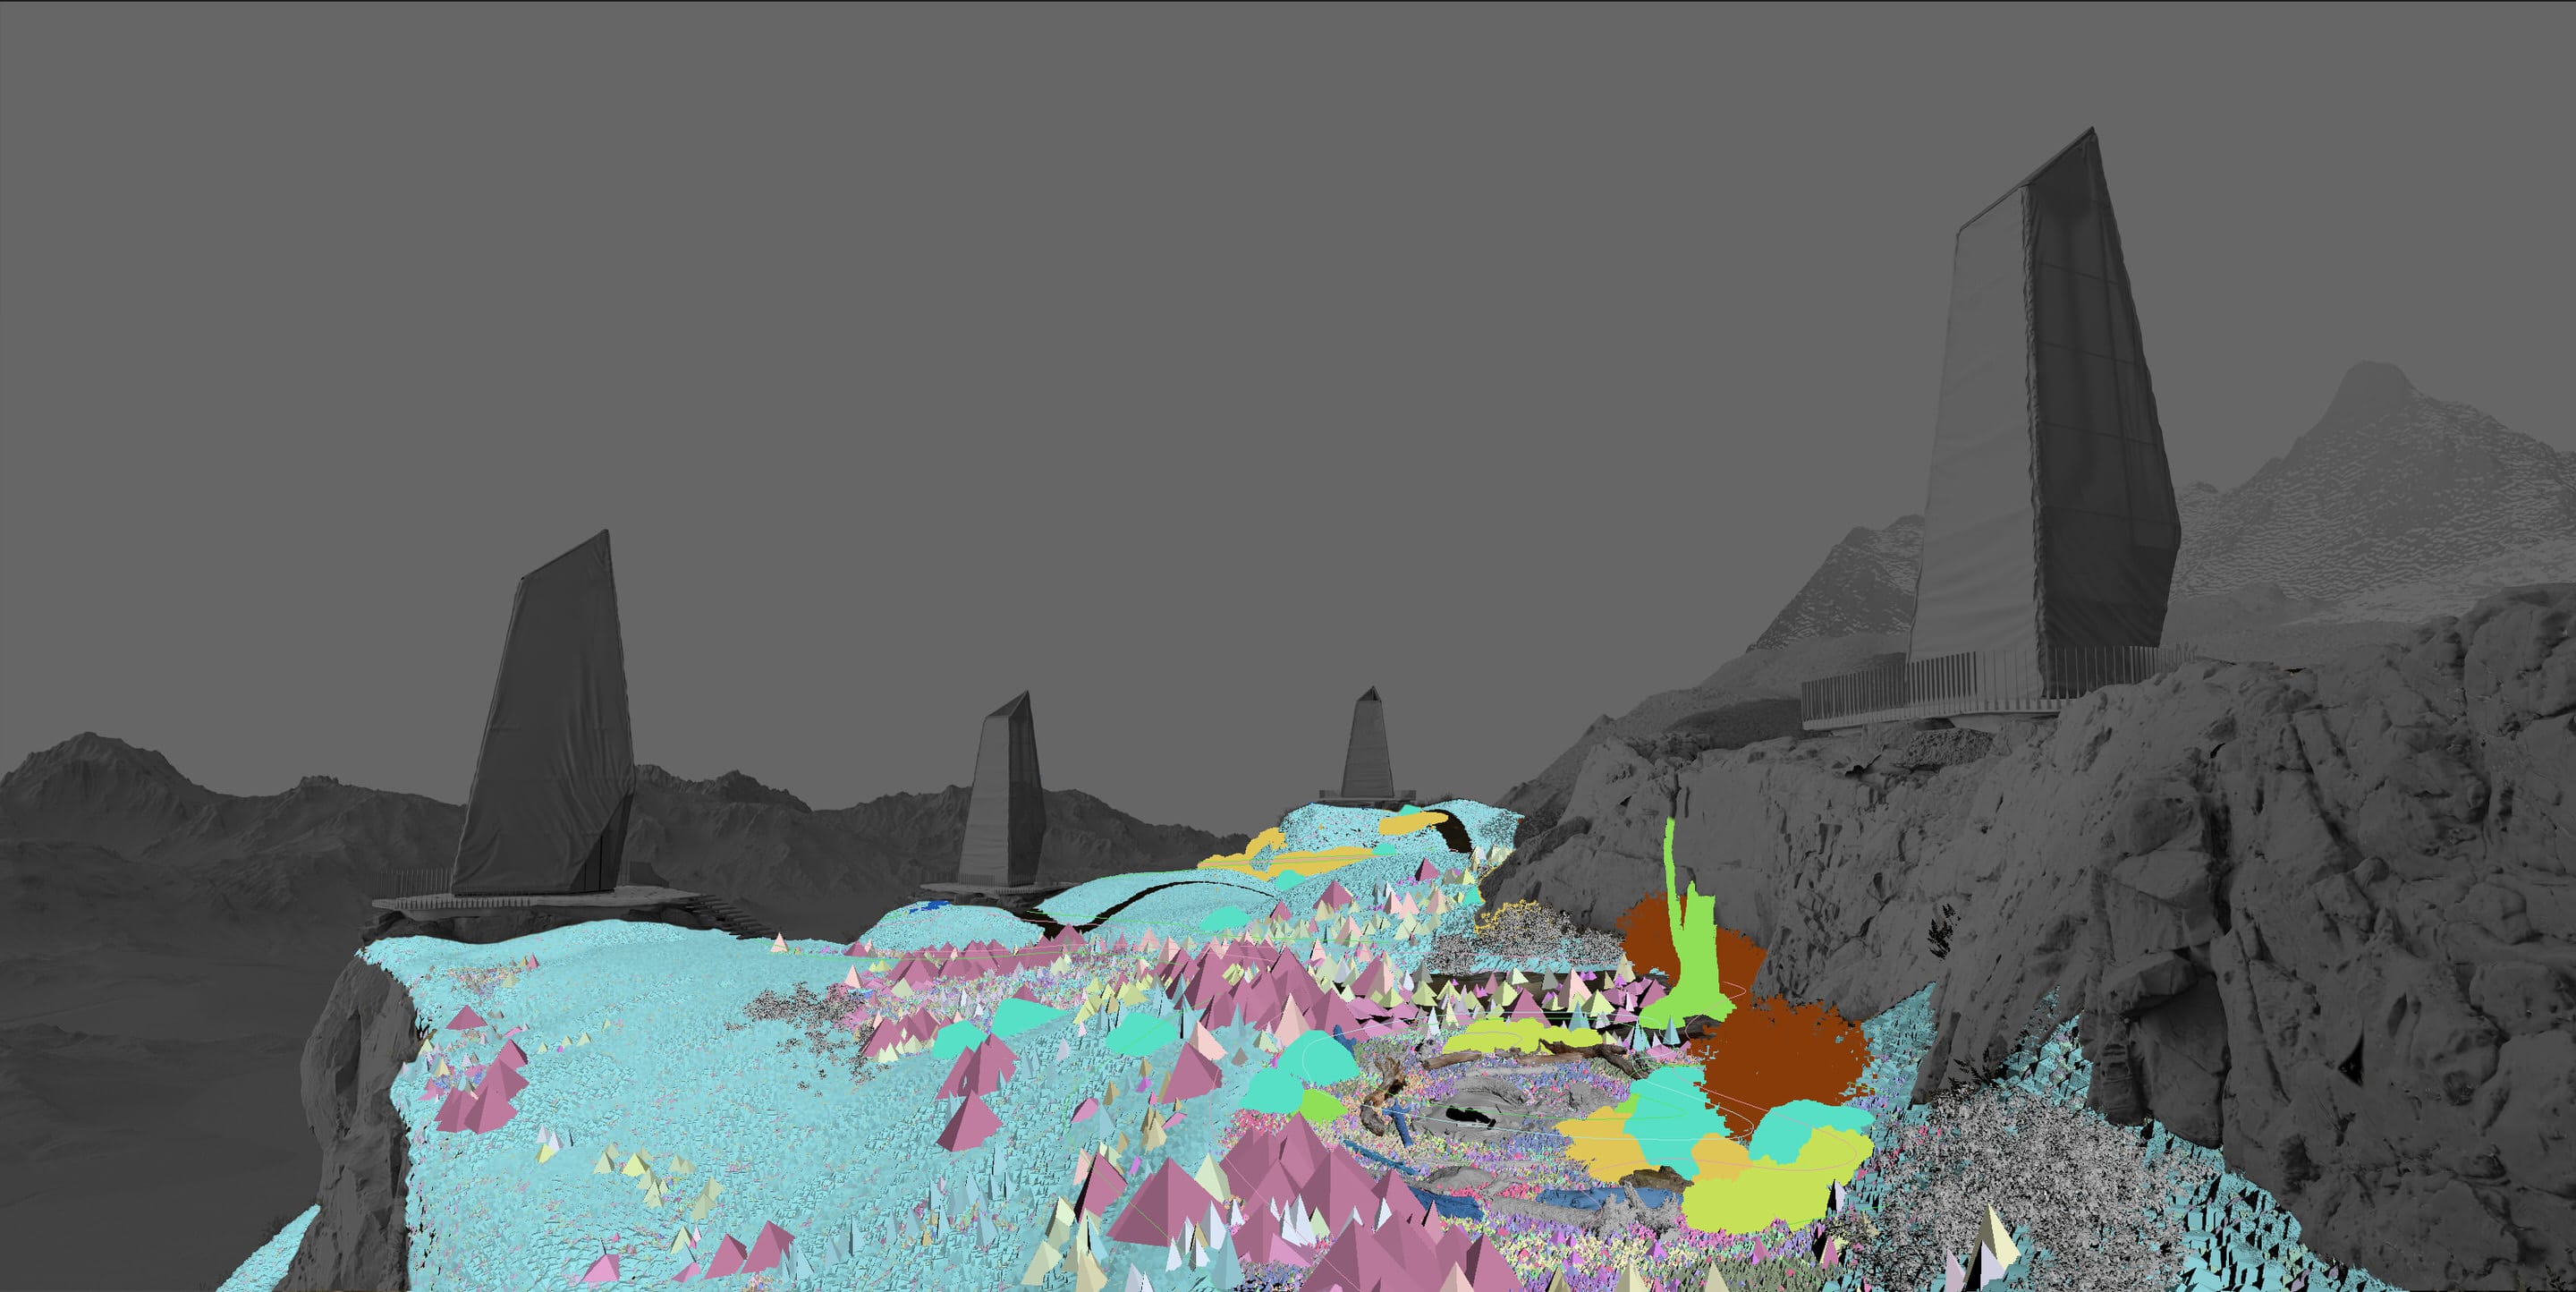
I scattered the assets with Forest Pack. I used splines to determine various scattering areas.
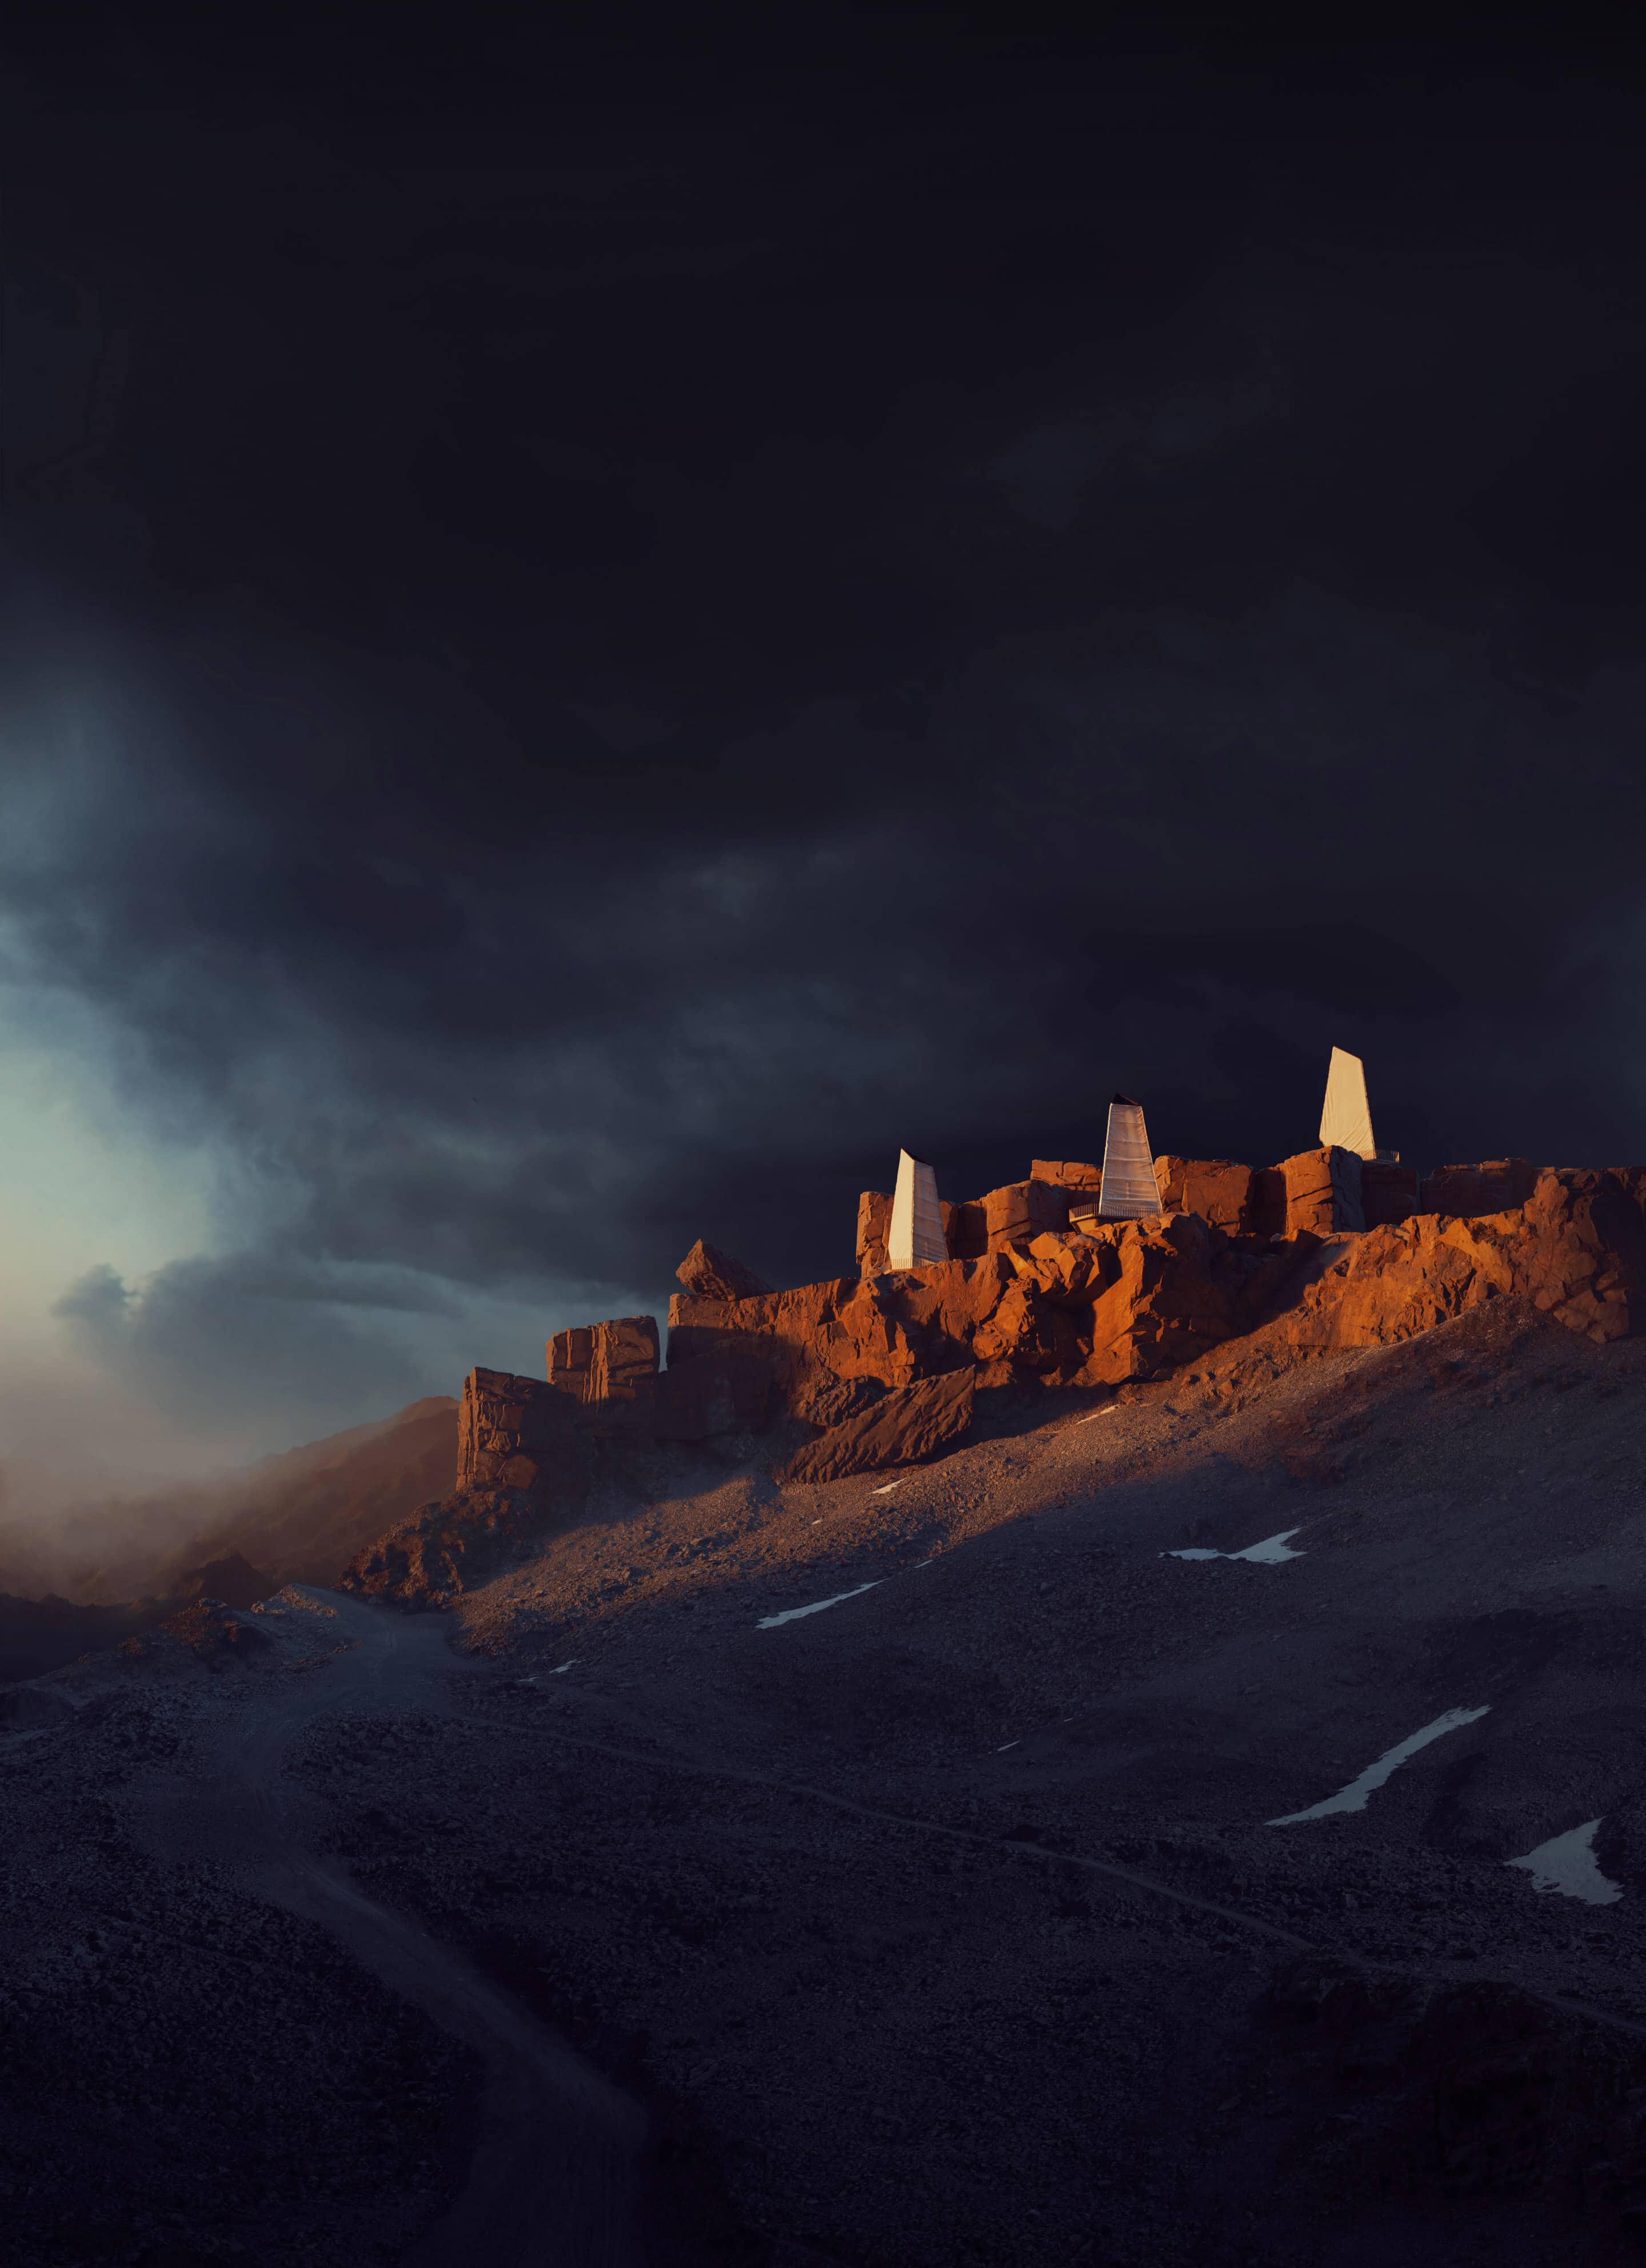
There was a couple of situations in which I wanted the stormy sky with accurately orchestrated sunset rays.
I used Corona Renderer, and it was the first time I worked with it since the very beginning of such a big project. The results were great out-of-box, and most of the final adjustments were made inside the framebuffer. My only external post-processing encapsulated incidental replacing of a sky, fixing minor glitches and painting some tiny details (e.g., scratches on some surfaces).
I used Corona’s Light Mixer to balance the lighting in a few night scenes. Possibility to do it after finishing the rendering is the great time-saver at the stage of a scene preparation.
Final Notes
I couldn’t cover all aspects of the project in this making-of. I tried to keep short those steps that are well-known or well described in other tutorials.
“This challenge has been a great occasion to try out some new workflows, and I am very thankful to Ronen and all the sponsors for coming up with this opportunity.”
So, what do you think of all this? Let’s Talk about it!
Notable Replies
Continue the discussion at talk.ronenbekerman.com
12 more replies










This project is one of the greatest ones published in long time. Thank you for the making of, its really interesting how you went with certain aspects.
Thank you very much!
Sorry for the late reply (it’s my vacation time).
@youkishi I am working on the animation from this project and using some other LOD/Displacement configurations there.
All variants work pretty fine for me but I am not able to tell which one is the most efficient in terms of details/resources needed.
Usually, I just have been ending up with the highest LOD’s as they haven’t caused any issues at all when CPU rendering.
I can say that at least I have finished some storyboard and thus I know more or less what’s yet to be done.
Some sneak peeks here:
I guess it’s time to move on here. I’ve put the video together. It’s not entirely what I expected but I don’t want it to take forever. It’s also not easy to create some narration when actually starting from the end.
You can see it here:
I won’t feature it anywhere yet so you can have some early insight (at least for a few days). I may still introduce some changes but frankly speaking, I am not sure if I want to after all uploading already finished. : )
Thank you. I’ve just spent two days moving things back and forth. The worst part of every project. Generally, I have fallen for 2.35:1 ratio, changed a few clunky transitions and other glitches I spotted. I think that it will be final and I will publish it after the weekend. I’ve got really tired with this last part of refining and it’s time to start the new project. : )
@rubikANDsun not really that much. I’ve got the library of stock sound files and it is rather a smooth process.